Merge Preview - Accuracy Check
- 18 Apr 2024
- 6 Minutes to read
-
PDF
Merge Preview - Accuracy Check
- Updated on 18 Apr 2024
- 6 Minutes to read
-
PDF
Article Summary
Share feedback
Thanks for sharing your feedback!
Overview
Take time at the beginning of the merging process to preview how to handle the duplicates. After creating filters and rules, view a few groups of duplicates within the filter results. The Merge Preview allows users to check the results for accuracy to ensure that the filter finds safe matches and that the rule properly selects the correct master record and field value selections based on business requirements.
Navigation
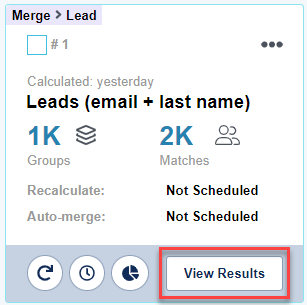
- Choose the ‘View Results’ option on any filter to drill into the filter results. This will bring up the Merge Preview page.
- Choose any group using the red arrow to load a set of records for view.
- Do not choose the checkboxes. These are designated for mass merge.
Preview Display
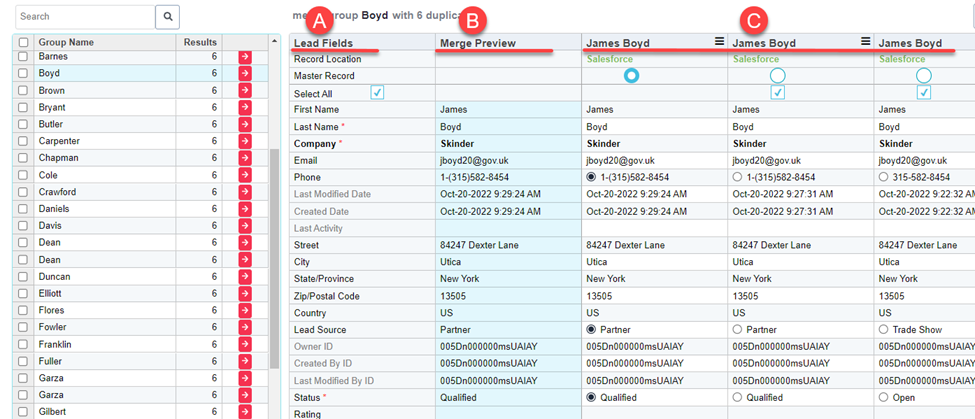
- The Merge Preview displays three sections.
- Field List: All visible fields (standard and custom) are displayed on the left of the preview.
- Merge Preview Column: A preview of what the final record will look like is displayed in the blue column.
- Making manual changes to the master or field selections will cause the preview to adjust. Options settings can impact manual choices on the page. See more details under the 'Options' section below.
- Rules impact how the master and field values get chosen.
- Making changes to the rule assigned to the filter in view will automatically adjust the record and field choices selected in the preview.
- Duplicate Salesforce Records: The Salesforce record matches are displayed in the far-right columns.
- Master Record: The preview will show which record gets chosen for the master based on the rule assigned.
- If manually changing the master, Options settings can impact the selection. See more details below.
- Non-Master Record(s): By default, all non-master records get selected for merge via the checkbox at the top of the merge grid.
- Records selected get included in the merge.
- Rules can impact chosen records if the rule includes an exclusion/exception.
- Unchecked records are not included in the merge.
- If manually deselecting a record for merge, field values are already chosen based on the rules applied. This means values from deselected records are pulled into the final record for merge. Options settings control if the rules get re-evaluated when a record is manually excluded from the merge. See more details below.
- Records selected get included in the merge.
- Field Selections: Fields that differ in values will display a radio button and manual choices are possible.
- Fields that cannot be updated in Salesforce will not allow field selections.
- If changing a field selection, set up a field-specific rule so that Cloudingo can apply the logic automatically next time. This will help to automate the process.
- Master Record: The preview will show which record gets chosen for the master based on the rule assigned.
Previewing Results
- Preview Results to confirm that results are pulling in for merge as expected.
- Check more than one group for accuracy.
- Manually merge a group and check the final record in Salesforce.
- Cloudingo cannot bypass Salesforce configurations on the Salesforce side (triggers, flows, validation rules, blocking rules, etc.). Configure bypass logic in the flows/triggers/validation rules, etc. (usually done by a Salesforce Admin).
Customize the Preview
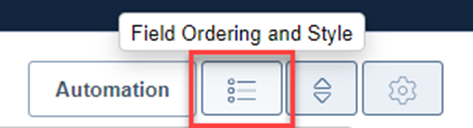
Field Ordering and Style
- Field Ordering and Style: Sort, hide, and bold fields displayed in the Merge Preview.
- Fields are listed in order of display. Use the search option to find a field. Re-number important fields to display toward the top of the preview page for viewing, make a field visible/hide it, or bold a field for easier viewing.
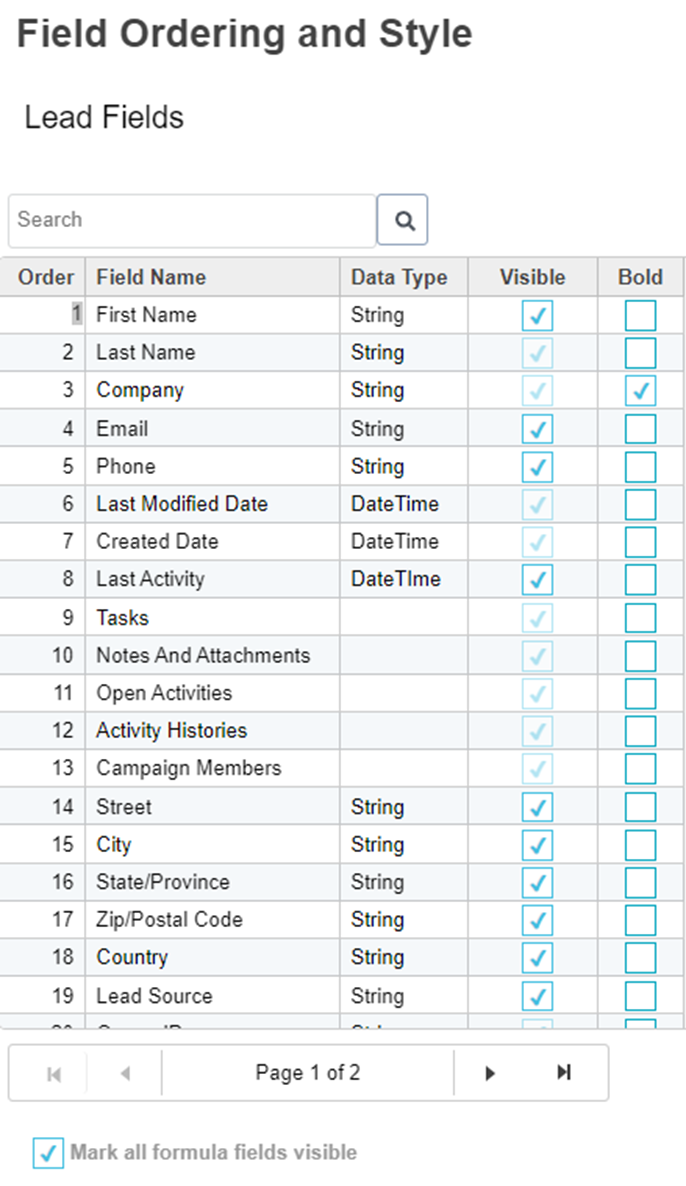
- Click on the number in the ‘Order’ box and change the numeric value to the field position desired. This will move the field to the specified area on the preview page.
- Select or Deselect the ‘Visible’ checkbox to hide fields that are/are not important for viewing.
- Required fields and some system-determined fields cannot be disabled from the view.
- Select the ‘Bold’ checkbox to bold the row for a field (and the values).
- Select the ‘Mark all formula fields visible’ checkbox to display formula fields. Deselect to hide all formula fields.
- Formula field values cannot be set (or chosen) during the merge.
- If using formula fields as the master record selection or in field group rules, be sure to make that field ‘Visible’.
- Fields are listed in order of display. Use the search option to find a field. Re-number important fields to display toward the top of the preview page for viewing, make a field visible/hide it, or bold a field for easier viewing.
Sort
- Sort: Choose the record order records for display in the preview.
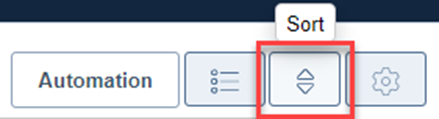
- Oldest to Newest (modified date).
- Newest to Oldest (modified date).
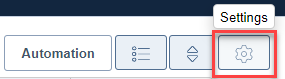
Options
- Options: Options settings control manual choices and impact the final record (blue column).
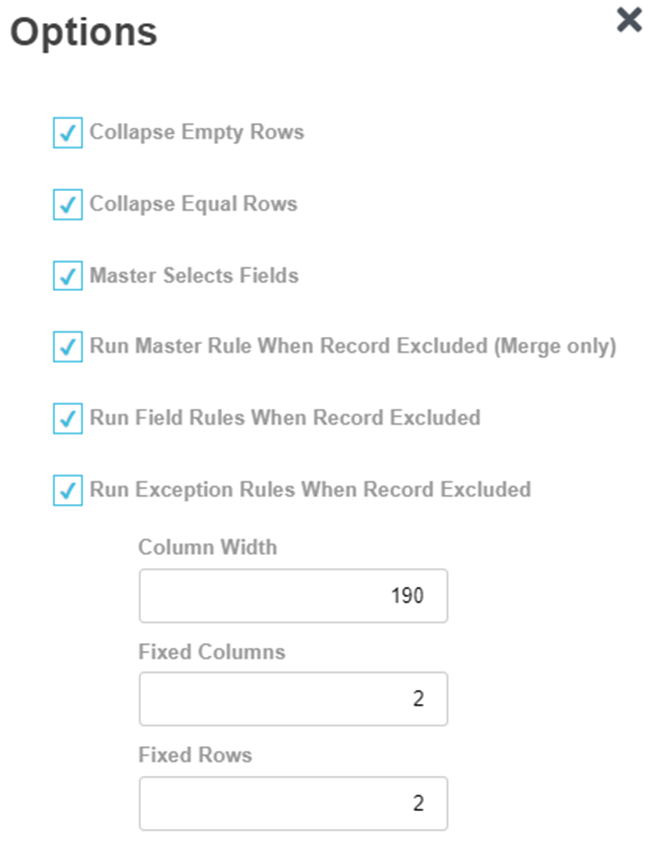
- Collapse Empty Rows: Hide empty rows when all records in the group are blank. This makes the display less cluttered and focuses on fields with values only.
- Collapse Equal Rows: Hide rows when all records contain the same value and no choices are necessary.
- Master Selects Fields:
- The merge preview chooses the master and field values from all records based on rules.
- This setting controls how field values are chosen if the master record is manually changed by a user.
- If the need to manually change the master occurs regularly, consider re-defining the master rule definition.
- When changing the master selection manually, the rule to determine the master/field value selections is no longer applicable since the user is choosing to do a manual override.
- When enabled, if the master record is manually changed in the preview, all selected field values will get selected from the newly chosen master record.
- When disabled, if the master record is manually changed in the preview, the selected field values chosen from the original master will remain.
- Run Master Rule When Record Excluded (Merge only):
- The merge preview chooses all values from all records based on rules.
- When deselecting records for merge or changing the master selection, values chosen from the rule will remain on the final record even after deselecting the records.
- Enable this option to re-run the master portion of the rule after deselecting a record so that the master rule applies only to the remaining selected records.
- Enable before deselecting a record.
- Rules will be re-evaluated without the deselected record in the mix.
- Commonly used when deselecting a record initially chosen as the master or when changing the master record selection.
- Run Field Rules When Record Excluded:
- The merge preview chooses all values from all records based on rules.
- When deselecting records for merge or changing the master selection, values chosen from the rule will remain on the final record even after deselecting records.
- Enable this option to re-run the field-level rules after deselecting a record so that field rules apply only to the remaining selected records.
- Enable before deselecting a record.
- Rules will be re-evaluated without the deselected record in the mix.
- Commonly used when deselecting records for merge.
- Run Exception Rules When Record Excluded:
- The merge preview chooses all values from all records based on rules.
- When deselecting records for merge or changing the master selection, values chosen from the rule will remain on the final record even after deselecting records.
- Enable this option to re-run the exclusion rules after deselecting a record so that exclusion rules apply only to the remaining selected records.
- Enable before deselecting a record.
- Rules will be re-evaluated without the deselected record in the mix.
- Commonly used when deselecting records and rules are configured to use exclusions.
- Column Width: Adjust the column width for easier viewing.
- The recommended width is 175-200.
- Once a column width is set, it will load for future viewings.
- Fixed Columns: Set a Fixed Column count to keep a few columns visible within the preview while scrolling left or right.
- Fixed Rows: Set a Fixed Rows count to keep a few rows visible within the preview while scrolling up or down.
What is Next?
After getting acquainted with the Preview page, make adjustments to filter configurations (bad record matches) or to merge rules (bad default master or field selections chosen). After making adjustments to filters and/or rules as necessary, be sure to preview the results again for accuracy. The goal should be to get the group of records loading a perfect merge preview every single time (whether merging in bulk or not). Manual adjustments before merging indicate the necessity for more changes to the filters or rules.
Once the preview has been perfected, move on to the next step. Merging!
Was this article helpful?
