Owner Mapping
- 08 Dec 2023
- 2 Minutes to read
-
PDF
Owner Mapping
- Updated on 08 Dec 2023
- 2 Minutes to read
-
PDF
Article Summary
Share feedback
Thanks for sharing your feedback!
Overview
The Manage Owner Mapping feature in Cloudingo was designed to make it easy to handle ownership transitions, whether it be due to a sales representative change or handling ownership for inactive owners. This feature helps solve the issue of having inactive users with records assigned to them, as Salesforce will not allow saving changes or creating new records with inactive owners assigned.
Navigation
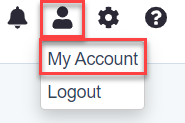
- Choose the ‘Account’ → ‘My Account’ option from the top-right-hand-side navigation options.
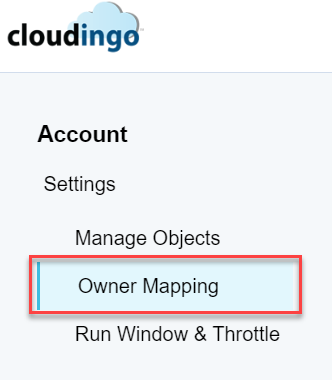
- Choose the ‘Owner Mapping’ option under the 'Account Settings'.
Step 1: Set Up Owner Mapping
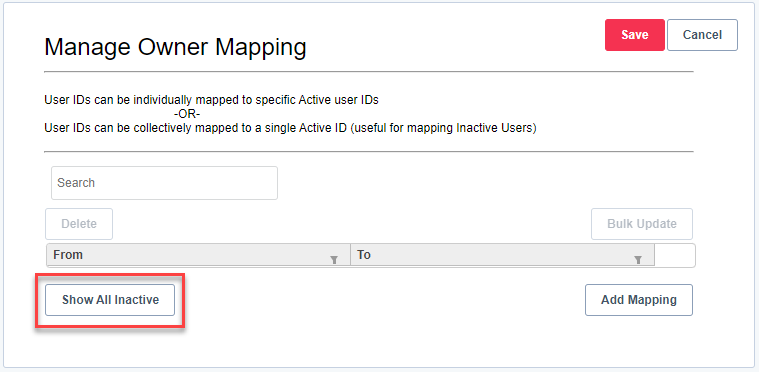
- To bulk reassign inactive owners to a specific user:
- Choose the ‘Show All Inactive’ option.
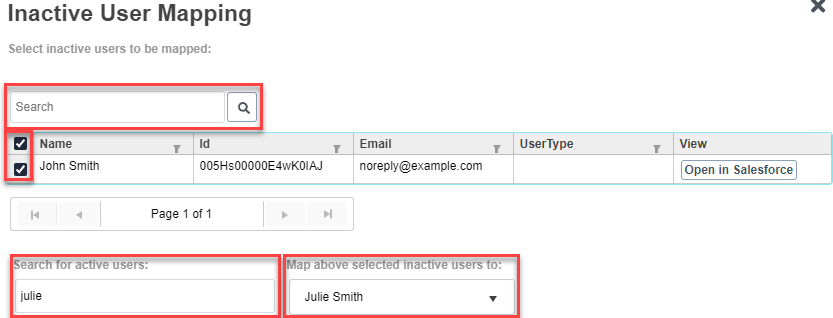
- In the Inactive User Mapping page, use the ‘Search’ box to do a name search for the inactive user.
- Or leave the search blank to search all inactive owners.
- Or leave the search blank to search all inactive owners.
- Choose the checkbox next to each inactive user to set up owner mapping.
- Or choose the Select All checkbox to select all inactive owners.
- Choose the new owner name in the ‘Map above selected inactive users to’ box.
- Choose 'Save' to save the inactive owner mappings.
- Choose the ‘Show All Inactive’ option.
- To set up individual owner mapping:
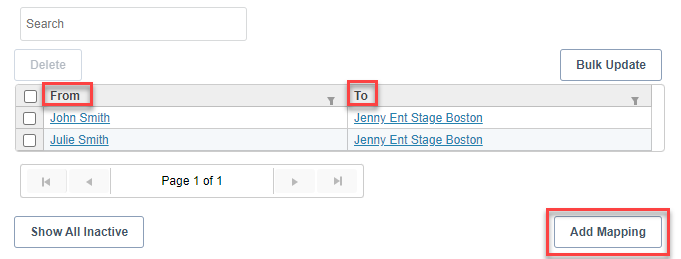
- Choose the ‘Add Mapping’ option.
- In the ‘From’ column, search for the owner to transition records from (old owner).
- In the "To" column, search for the owner to transition records to (new owner).
- Repeat steps for additional owners as necessary and ‘Save’.Note:Mapping owners will not immediately change data. Instead, ownership is reassigned during a merge or conversion process. Cloudingo will apply the new ownership rule if the rule associated has owner mapping enabled (see below). Users can add multiple owner mappings.
- To bulk delete owner mappings:
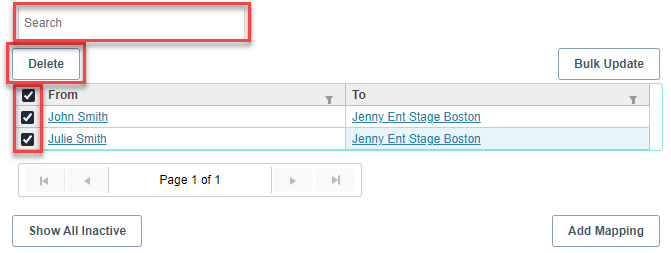
- Use the main 'Search' option to locate records by owner name.
- Choose the checkboxes for each record to delete, or use the Select All checkbox to select all records to delete.
- Choose the 'Delete' option and choose 'OK'.
- Choose 'Save' to save the deleted mappings.
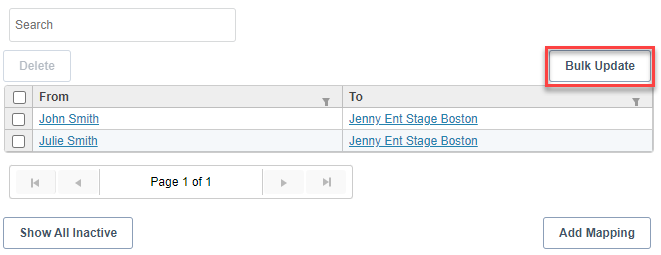
- To reassign existing owner mappings to a different owner:
- Choose the 'Bulk Update' option.
- Use the main 'Search' option to locate records by owner name.
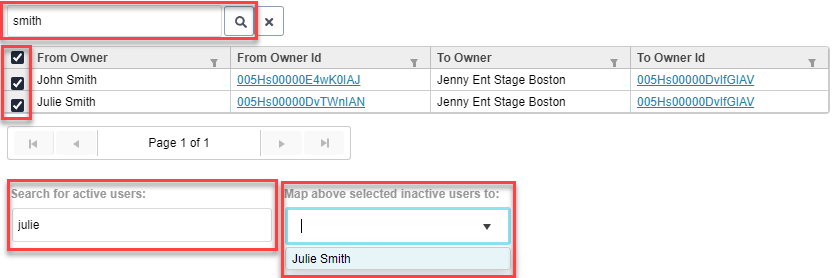
- Choose the checkboxes for each record to be reassigned, or use the Select All checkbox to select all records to reassign.
- Use the 'Search for active users' box to type in the name of the new owner to be reassigned. Choose the new owner in the 'Map above selected inactive users to' drop box.
- Choose 'Save' to save the reassigned mappings.
- Choose the 'Bulk Update' option.
Step 2: Enable Owner Mapping for Automation Rules
- Choose the ‘Tools’ → ‘Dedupe’ → ‘Rules’ option from the left-hand-side navigation window.
- Choose the ‘Edit’ menu option next to the object rule(s) that owner mapping will be enabled.
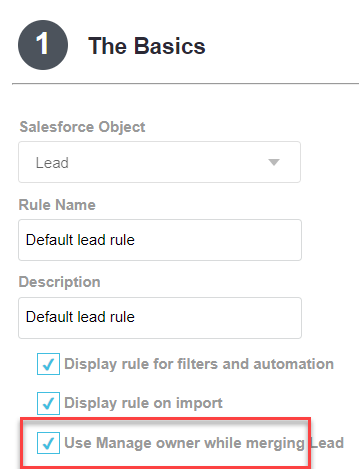
- In the ‘Step 1: The Basics’ settings, enable the ‘Use Manage owner while merge’ option.
- Repeat this step for each automation rule that ownership rules should apply to.
- Owner mapping will apply to all filters with the rule applied.
Was this article helpful?
