Rules Library
- 24 Mar 2023
- 2 Minutes to read
-
PDF
Rules Library
- Updated on 24 Mar 2023
- 2 Minutes to read
-
PDF
Article Summary
Share feedback
Thanks for sharing your feedback!
Overview
The Automation Rules Library is a backup area or archive for Automation Rules in Cloudingo. It serves as a centralized location for all rules, regardless of the org they were created on, and can be used to copy rules between multiple orgs connected to Cloudingo (ex: Production org and Sandbox org).
Warning for Professional & Enterprise License Users:
Automation Rules in Cloudingo are shared amongst users and any changes made to a rule will affect all users.
Navigation
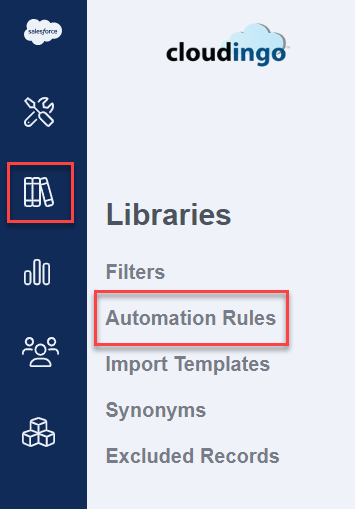
Choose the ‘Libraries’ → ‘Automation Rules’ option from the left-hand-side navigation bar.
Adding Rules to the Library

- Navigate to the rules dashboard. Choose the ‘Tools’ → ‘Dedupe’ → ‘Rules’ option from the left-hand-side navigation bar.
- To the left of any rule, choose the checkbox option.
- Choose the ‘Actions’ button.
- Choose the ‘Add To Rule Library’ option.
- A confirmation message will be displayed when the rule has been added to the library.
Removing Rules from the Library
- Navigate to the Automation Rules Library (‘Libraries’ → ‘Automation Rules’).
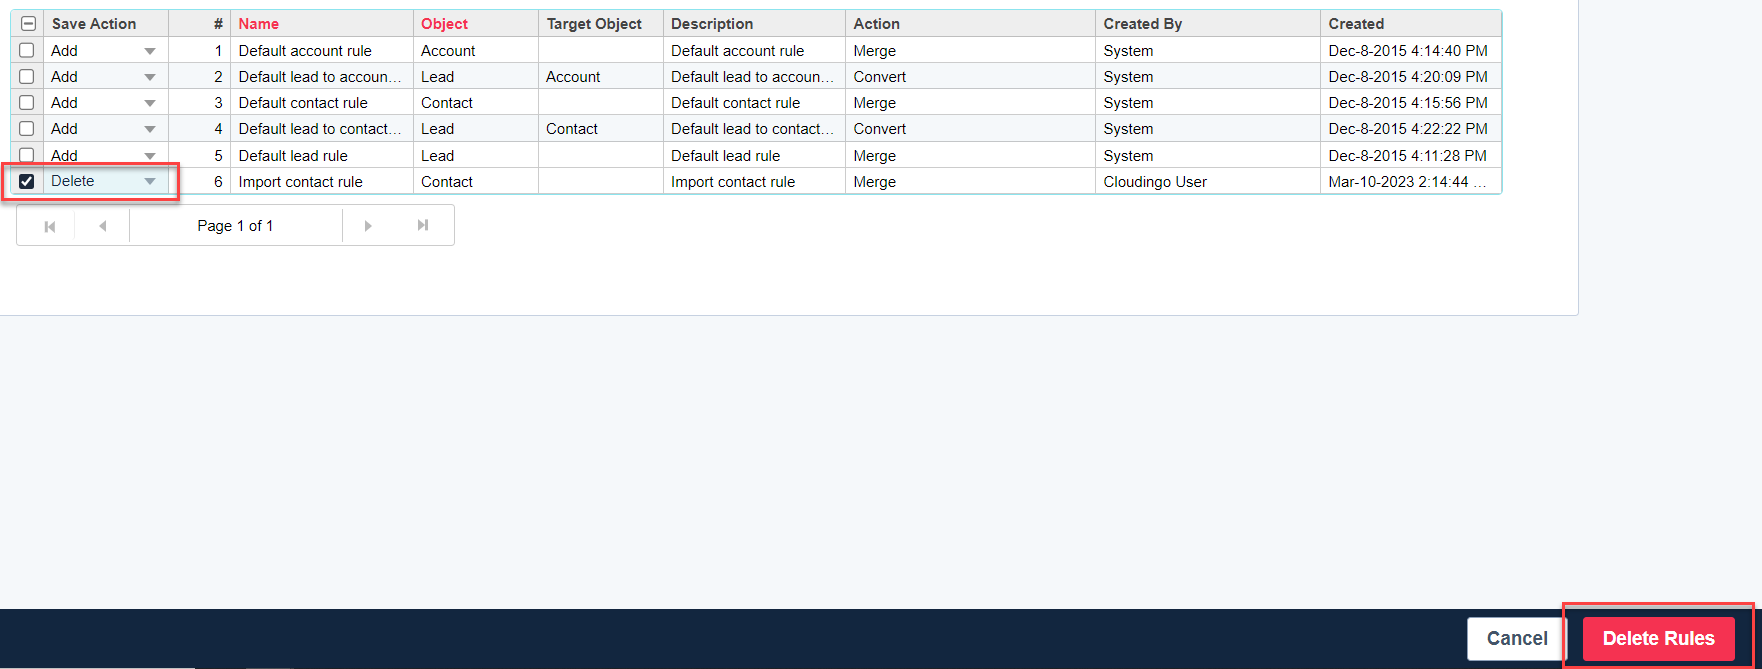
- Choose the checkbox to the left of the rule(s) to delete.
- Choose ‘Delete’ from the dropdown menu in the Action column.
- Choose the ‘Delete Rules’ option in the bottom right corner.
- Review the changes on the confirmation page.
- Click ‘Save’ to commit the changes or choose ‘Undo Delete’ or ‘Back to Rules Library’ to cancel the request.
- Select ‘Back to Rules Library’ to return to the library list.
Note:
- The pre-built rules that came with Cloudingo cannot be deleted. These are the ones labeled Created By “Cloudingo Standard Rule”.
- Users can only delete their own rules.
- Owner/Admin users can delete rules for any user.
Copying Rules to Other Orgs
If multiple orgs are connected to the Cloudingo account, rules can be copied from one org to the other (such as Sandbox to Production) by following these steps:
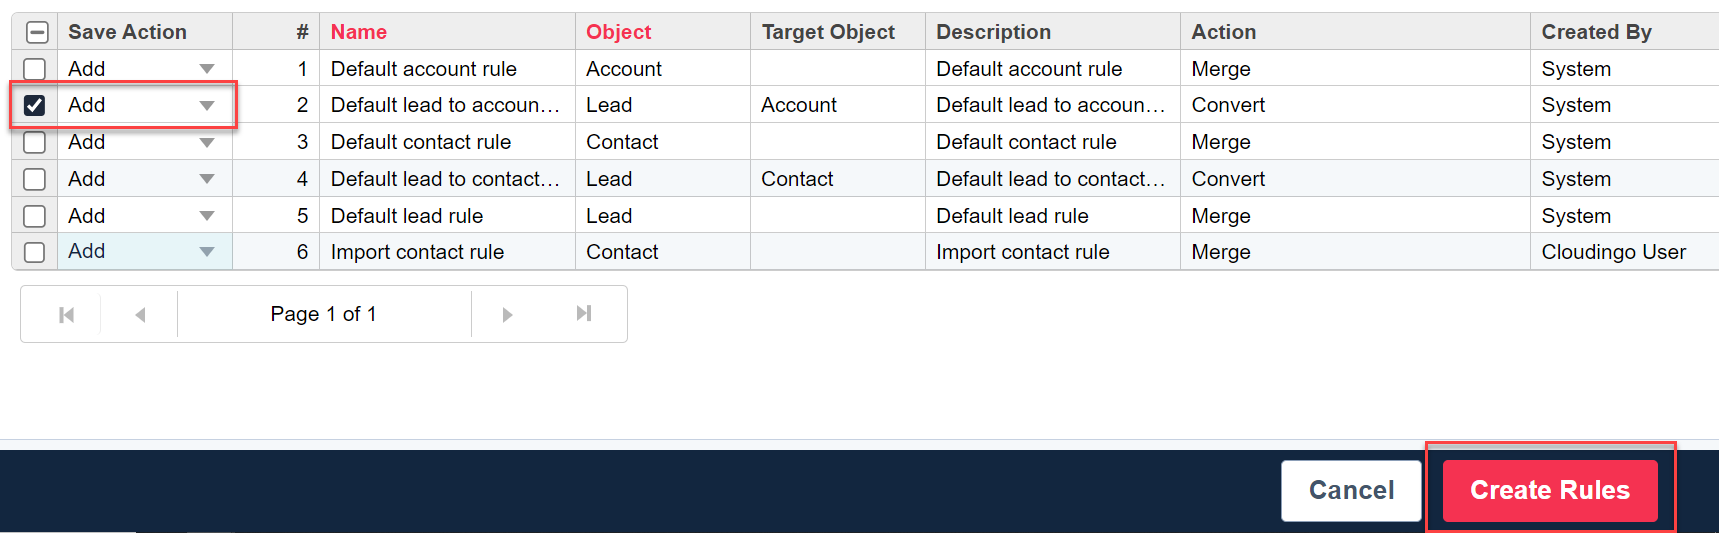
- Add the desired rule(s) to the library (see instructions above).
- Select ‘Create Rules’ at the bottom right.
- On the Review Changes page, choose the platform the rule(s) should be copied to under the ‘Add to Platform’ column.

- If only one platform is currently connected, only one option will be available. If multiple orgs are connected, all options will be available.
- Deselect any platforms that the rule(s) should not be added.
- If only one platform is currently connected, only one option will be available. If multiple orgs are connected, all options will be available.
- Choose ‘Save’ to save the changes, or choose 'Back to Library' to cancel and go back to the main library page.
Warning:
Any fields used in the rule that are not present in the other org may cause problems with rule execution.
Adding & Deleting in One Step
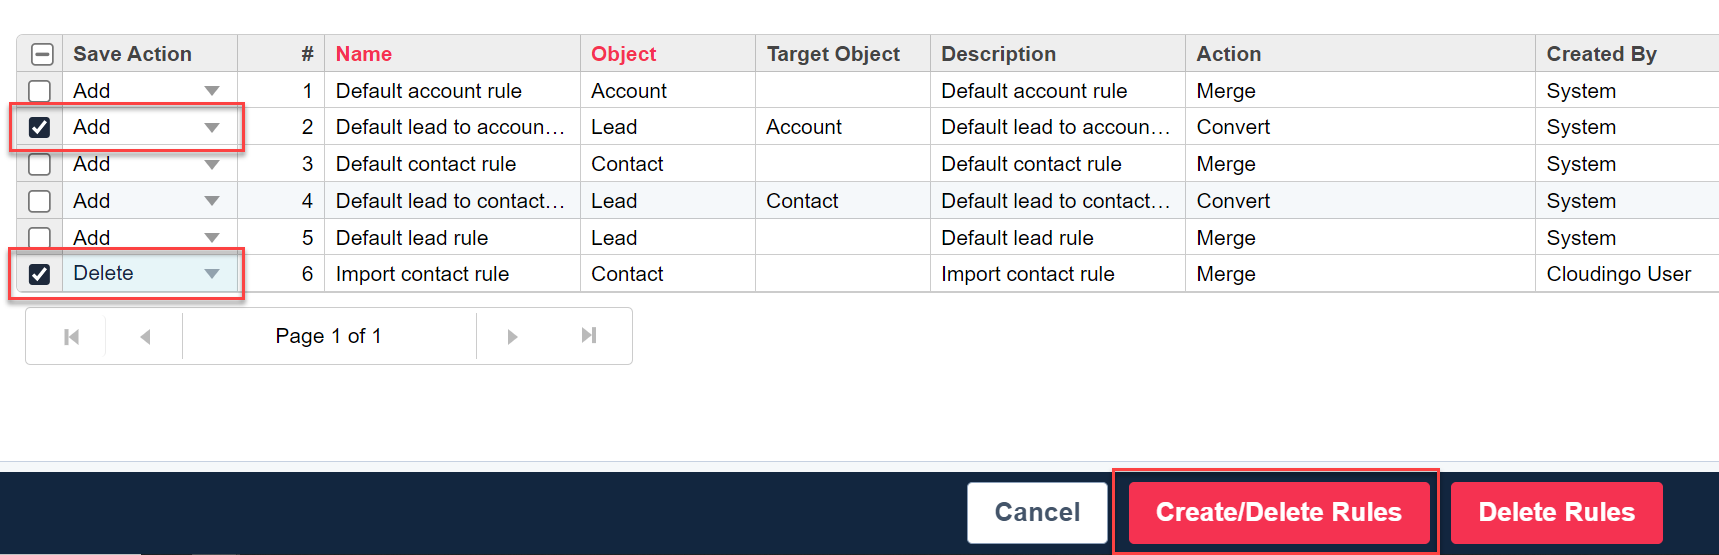
- Choose the checkboxes next to all rules that need an action performed.
- Choose the ‘Add’ option next to the rules to be added.
- Choose the ‘Delete’ option next to the rules to be removed.
- Choose the ‘Create/Delete Rules’ option in the bottom right.
- Review the changes on the next page.
- Be sure to choose the appropriate platforms in the 'Platform' column for rules to be added.
- Choose ‘Save’ to execute all actions.
For more information on copying filters to a library, visit the Filter Library help article.
Was this article helpful?
