Overview
The tiles on the dashboard in Cloudingo represent filters that analyze data in specific ways to find duplicate matches. There are filtering and sorting options available to better organize and find specific filters. Each filter has a title, a menu option at the top, and informational displays for quick view about the filter (e.g., Merge filter or Convert filter, last calculation date, and schedule details). Access the results of the filter run by clicking on the View Results button.
Filtering & Sorting
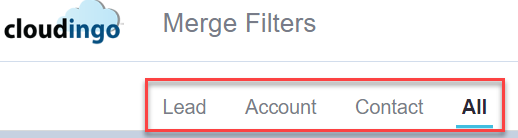
At the top of the screen, display filters by object type (e.g., Lead, Account, Person Account, Contact, Custom Object) or choose ‘All’ to view all filters in one view.
Sort By: Sort filters as desired for the dashboard view.

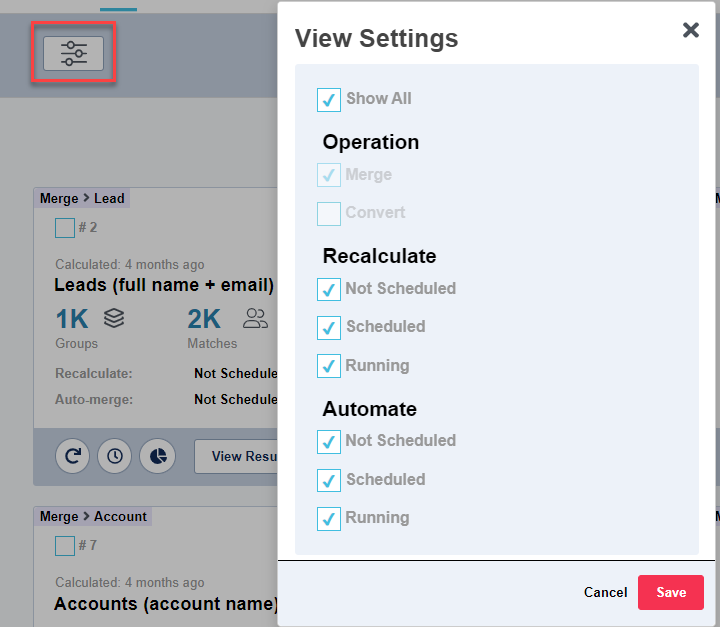
Filter: Further limit displayed filters by Operation (merge/convert) and by scheduled vs. non-scheduled filters.
Actions Menu
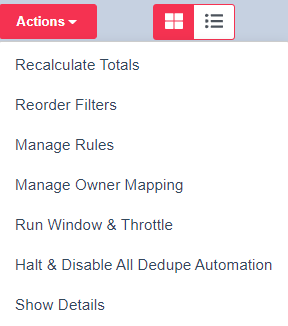
- Recalculate Totals: This option will recalculate totals for all filters on the dashboard at one time. Recalculating analyzes current Salesforce data and reports any current duplicate matches based on the selected criteria. Results can be calculated at the individual filter level as well.
- It is important to recalculate the filters before using them to ensure that the most recent data matches pull into the results.
- View the last time a filter was calculated by looking at the status (Calculated: x days ago).
- Reorder Filters: This option allows for sorting the display of filters in order of preference. Drag & drop the filters in desired order and save.
- Manage Rules: Filters & Rules work together to give the best outcome for the final record. Go directly to the Rules section from this option.
- Manage Owner Mapping: Go directly to Owner Mapping configurations from this option.
- Run Window & Throttle: Go directly to the Run Window & Throttle settings from this option.
- Halt & Disable All Dedupe Automation: Halt all dedupe automation jobs using this option. This will prevent any currently running or scheduled jobs from processing.
- Show/Hide Details: The ‘Show Details’ option will display a quick view with additional information regarding the filter configurations (such as Description, Fields used, & Rule applied). When enabled, the option will show ‘Hide Details’. Choose ‘Hide Details’ to switch back to the regular filter view on the dashboard.
Tile & List View

Toggle to display filters using a tile view format or list view format.
Tile View: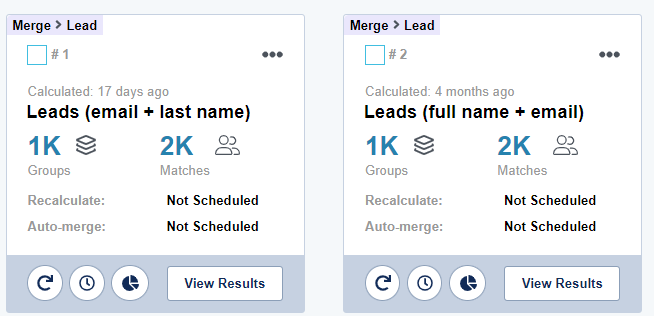
List View:
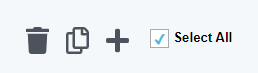
Multi-Select Filters for Actions
- Choose Individual filters using the checkbox (multi-select if desired) to delete the selected filters, create a copy of the selected filters on the dashboard, or copy the selected filters to the filter library simultaneously.
- Choose the ‘Select All’ option to select all filters and delete all filters, create a copy of all filters on the dashboard, or copy all filters the filter library.
Groups & Matches
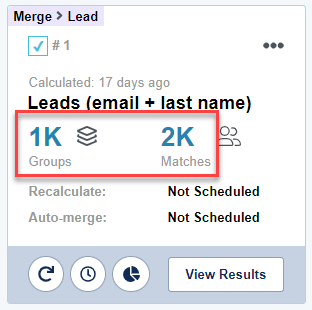
- Groups: Cloudingo uses the concept of groups, which is a set of records that match specific field values. A group must have at least two records, but it can have more than two. Groups are ways of combining individual records into sets of duplicates.
- Matches: Cloudingo displays the total number of individual records within all the groups of duplicates identified.
Filter Menu
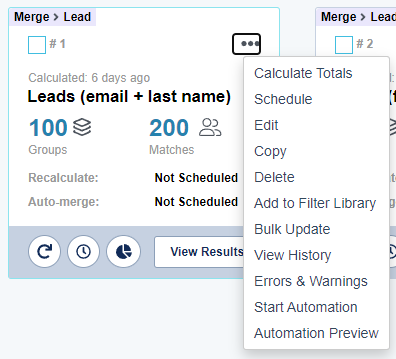
There are several options in the action menu for each filter, including:
- Calculate Totals: This option analyzes current Salesforce data and reports any current duplicate matches based on the selected criteria.
- It is important to recalculate the filters before using them to ensure that the most recent data matches pull into the results.
- The last filter calculation date displays in the filter’s details (e.g., Calculated: x days ago).
- Schedule: This option controls the schedule in which the filter automation runs (e.g., every night at 10:00 PM). It can be set to calculate results only or set to process the job. Specify the schedule run information (frequency, start date, start time, etc.) in the schedule details.
- Edit: View or Edit the existing filter configuration using this option.
- Copy: This option creates a copy of the current filter to use as a template for a new filter.
- Delete: This option removes the filter from the Cloudingo dashboard.
- Filters actively used in other configurations (such as integrations or related Data Maintenance jobs) cannot be deleted. An alert will appear when deletion is attempted.
- Add to Filter Library: This option adds the filter to the Filter Library.
- Share filters with other users or across platforms (e.g., Production to Sandbox or vice versa).
- Copy filters for later use to the library before deleting them from the dashboard.
- Bulk Update: This option creates a new Data Maintenance 'Update Unique' filter, allowing users to specify criteria to bulk update the records within the Dedupe filter.
- Data Maintenance filters created using a Dedupe filter cannot be added to the filter library for sharing.
- View History: This option opens a historical report on the filter and shows when most recent calculation dates and what the result counts were.
- Errors & Warnings: This option gives a quick filtered view of the Merge & Convert Summary Report on merge/convert failures returned from Salesforce.
- Start/Stop Automation: This option starts a one-time automation job on the current duplicates that the filter has found. Once a job has already started, stop the job from the filter menu by clicking 'Stop Automation'.
- Automation Preview:
- This is an optional pre-merge report. Report is available for Dedupe Merge filters only, and can list up to 20 fields/values per object. This report is subject to fees in some cases. For more details, visit the Automation Preview Report help article.
- This will start the processing of the report. Access the report in another area of the application.
- Export: This option exports the filter results (group name + record IDs only) to a CSV spreadsheet. This is an optional add-on feature. For more details, visit the Exportable Report help article.
What is Next?
After learning the filter basics, move on to Creating & Managing Filters to start finding duplicates!