Overview
Cloudingo Admins can copy filters for specific users and/or manage dashboards through the Manage Dashboards screen. Users can also share filters with others through the Filter Library and can copy filters between users/environments without needing to log in as the user that owns the filters. The Manage Dashboards page provides multiple options to choose from.
Navigation
- Choose ‘Users’ → ‘Dashboards’ from the left-hand-side navigation window.
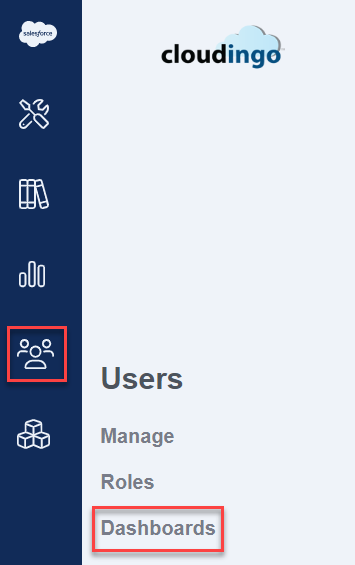
- There are dashboard options at the top of the page that allow managing Dedupe filters, Data Maintenance jobs, Imports, Reports, and Find Data jobs.
- Choose the dashboard that needs to be managed for a user.

- Choose the dashboard that needs to be managed for a user.
Dedupe
Add Dedupe Filter(s) to a User’s Dashboard
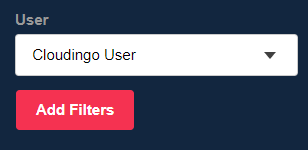
- Choose a specific user to manage in the ‘User’ drop box.
- The filters currently assigned to the user will be displayed.
- Choose ‘Add Filters’ to add existing filters to the user’s dashboard from the library.
- The Filter Library will open.
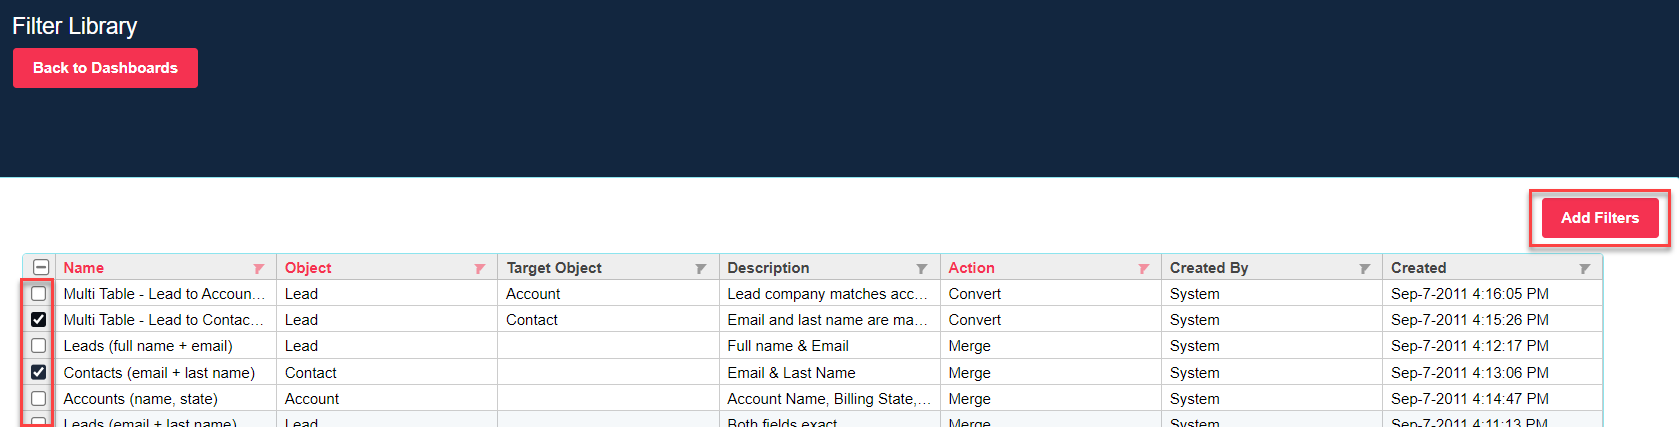
- Choose the checkbox next to each filter that should be added to the selected user’s dashboard.
- Choose from any user's filters that have already been added to the library.
- If the desired filters are not appearing, see more details below for Actions options.
- Choose ‘Add Filters’ to save filters chosen to the user’s dashboard.
- Filters will immediately get created on the selected user’s Dedupe filter dashboard.
- Filters will immediately get created on the selected user’s Dedupe filter dashboard.
- The Filter Library will open.
Actions
- Choose a specific user to manage in the ‘User’ drop box.
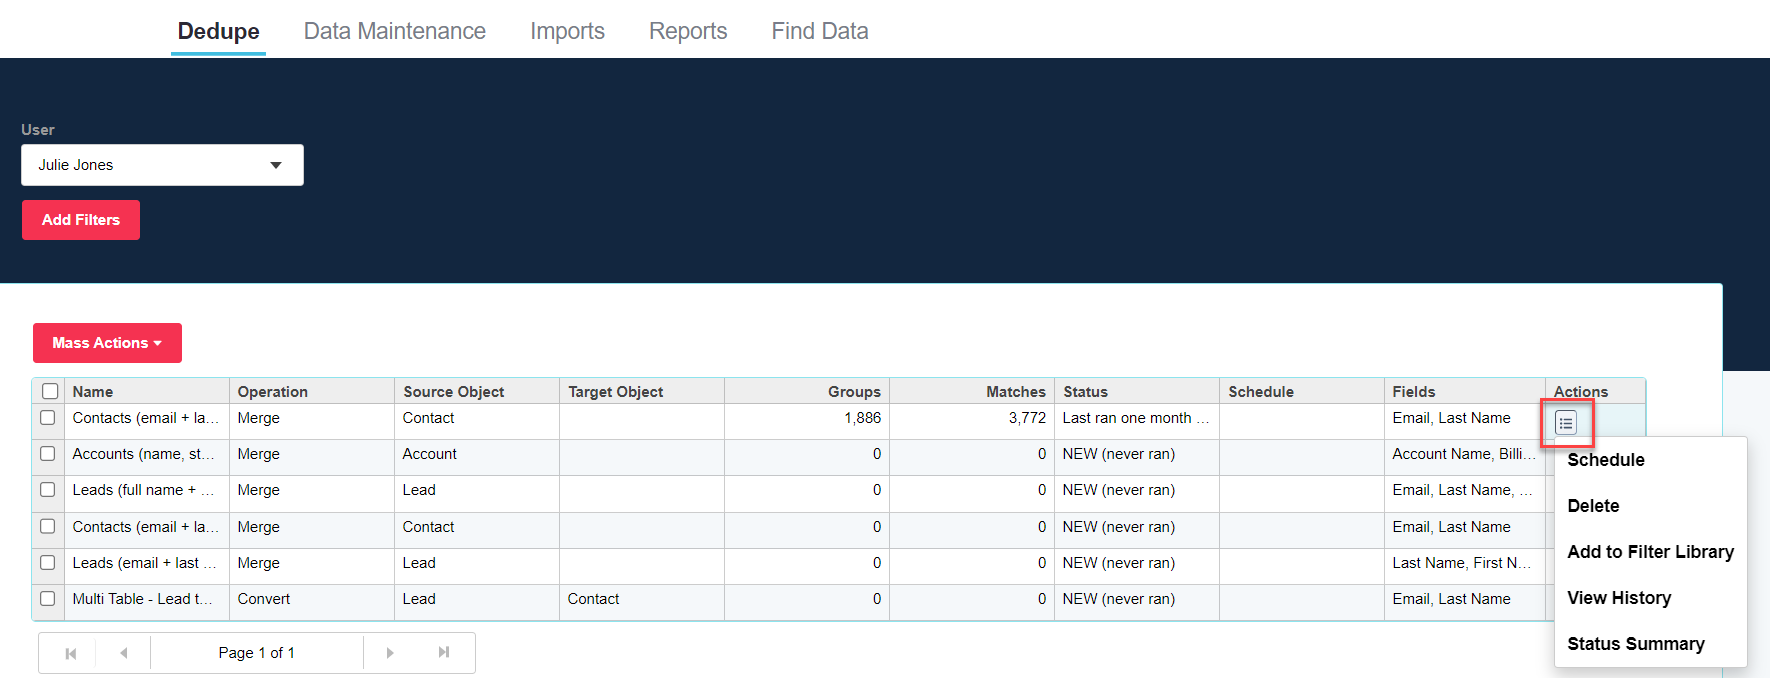
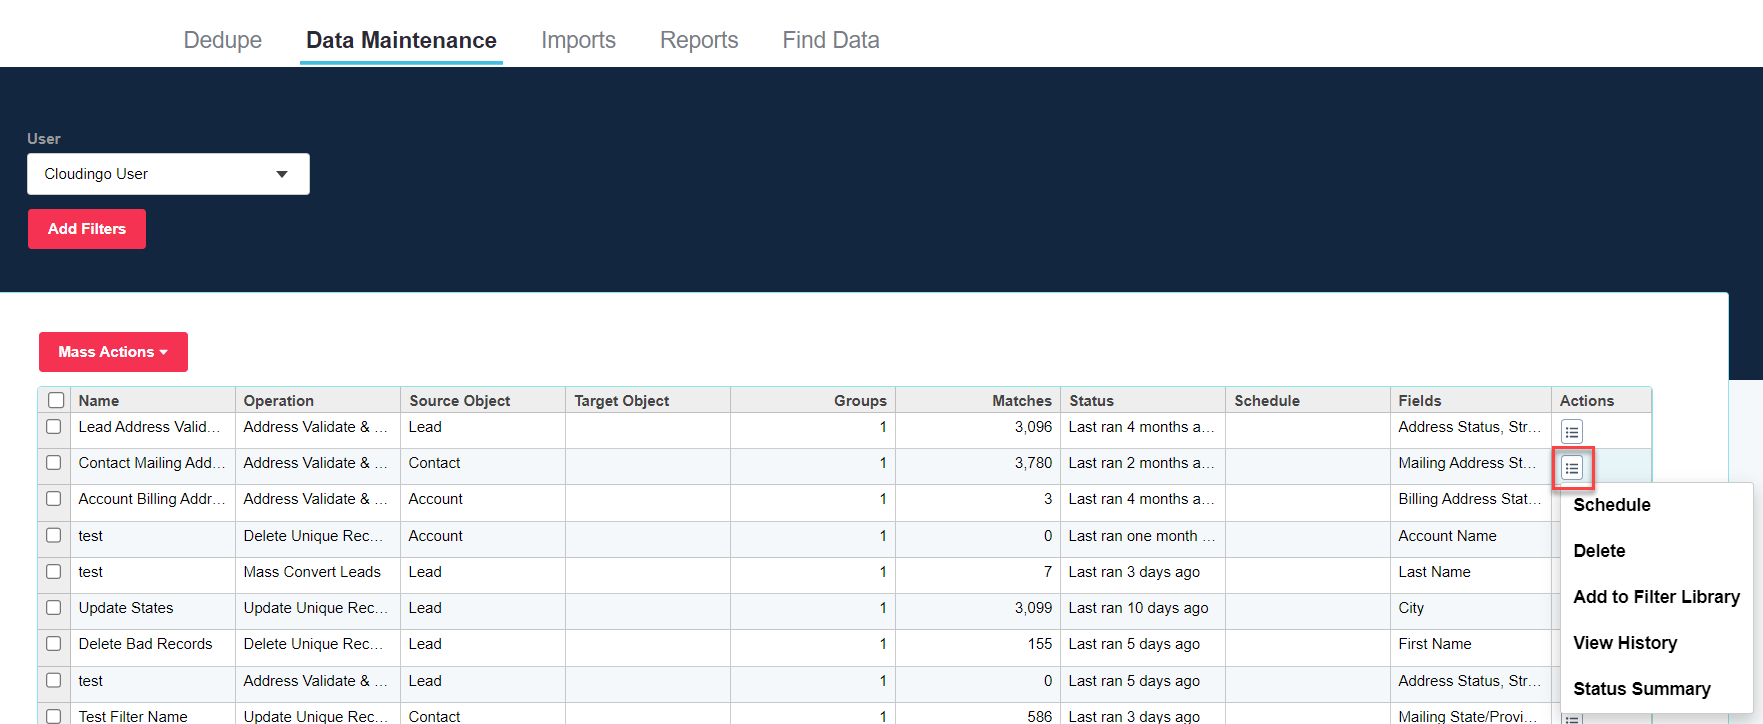
- Each filter has a ‘Actions’ menu option that includes:
- Schedule: Set up a schedule for a user’s filter.
- Delete: Delete a filter from the user’s dashboard.
- Add to Filter Library: Add a user’s filter to the library.
- Once a user's filter is added to the library, it can be shared with other users using the Dashboard.
- First, select the user to copy the filter from and choose the add to filter library action.
- Next, select the user to copy the filter to and choose the 'Add Filters' option.
- View History: View historical information on when the user’s filter was last calculated.
- Status Summary: View information on how many records processed and how many were successful for a user’s filter.
Mass Actions

- Choose a specific user to manage in the ‘User’ drop box.
- Choose the checkbox next to each filter that needs to be handled in mass.
- Choose ‘Mass Actions’ to delete the selected filters from a user’s dashboard, create a copy of selected filters to a user’s dashboard, or add filters to the library.
- Copying filters will create a copy of the selected filter(s) on the user’s dashboard.
- Adding filters to the library will not add filters to the user’s dashboard, but will add to the library where the user can copy filters from if permissions are allowed to do so.
- Admins can also copy filters to users using the Dashboard.
Data Maintenance
Add Data Maintenance Filter(s) to a User’s Dashboard
- Choose a specific user to manage in the ‘User’ drop box.
- Choose ‘Add Filters’ to add existing filters to the user’s dashboard.

- The filter library will open.

- Choose the checkbox next to each filter that should be added to the user’s dashboard.
- Choose from any user's filters that have already been added to the library.
- If the desired filters are not appearing, see more details below for Actions options.
- Choose ‘Add Filters’ to save filters chosen to the user’s dashboard.
- Filters will immediately get created on the user’s corresponding (update, update matching, delete, or Validate Addresses) dashboard for use.
- Filters will immediately get created on the user’s corresponding (update, update matching, delete, or Validate Addresses) dashboard for use.
- The filter library will open.
Actions
- Choose a specific user to manage in the ‘User’ drop box.
- Each filter has a ‘Actions’ menu option that includes:
- Schedule: Set up a schedule for a user’s filter.
- Delete: Delete a filter from the user’s dashboard.
- Add to Filter Library: Add a user’s filter to the library.
- Once a user's filter is added to the library, it can be shared with other users using the Dashboard.
- First, select the user to copy the filter from and choose the add to filter library action.
- Next, select the user to copy the filter to and choose the 'Add Filters' option.
- View History: View historical information on when the user’s filter was last calculated.
- Status Summary: View information on how many records processed and how many were successful for a user’s filter.
Mass Actions

- Choose a specific user to manage in the ‘User’ drop box.
- Choose the checkbox next to each filter that needs to be handled in mass.
- Choose ‘Mass Actions’ to delete the selected filters from a user’s dashboard, create a copy of selected filters to a user’s dashboard, or add filters to the library.
- Copying filters will create a copy of the selected filter(s) on the user’s dashboard.
- Adding filters to the library will not add filters to the user’s dashboard, but will add to the library where the user can copy filters from if permissions are allowed to do so.
- Admins can also copy filters to users using the Dashboard.
Imports
Actions
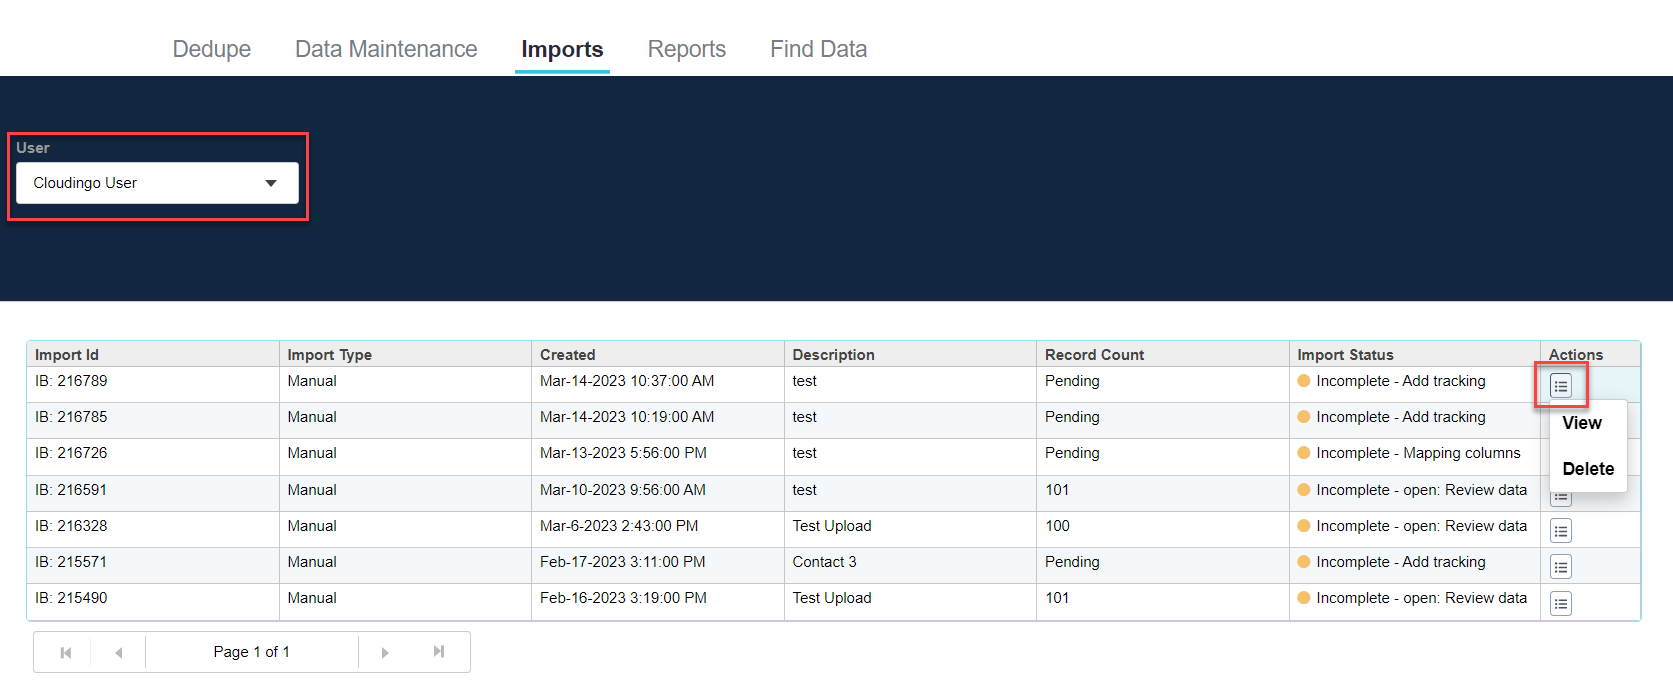
- Choose a specific user to manage in the ‘User’ drop box.
- Each import still uploaded to Cloudingo and performed by the user appears in the list.
- Action options include:
- View: Pulls up the user’s import in the Import Wizard where the file can be viewed or further managed.
- Delete: Delete the user’s import.
Reports
Add Reports to a User’s Dashboard
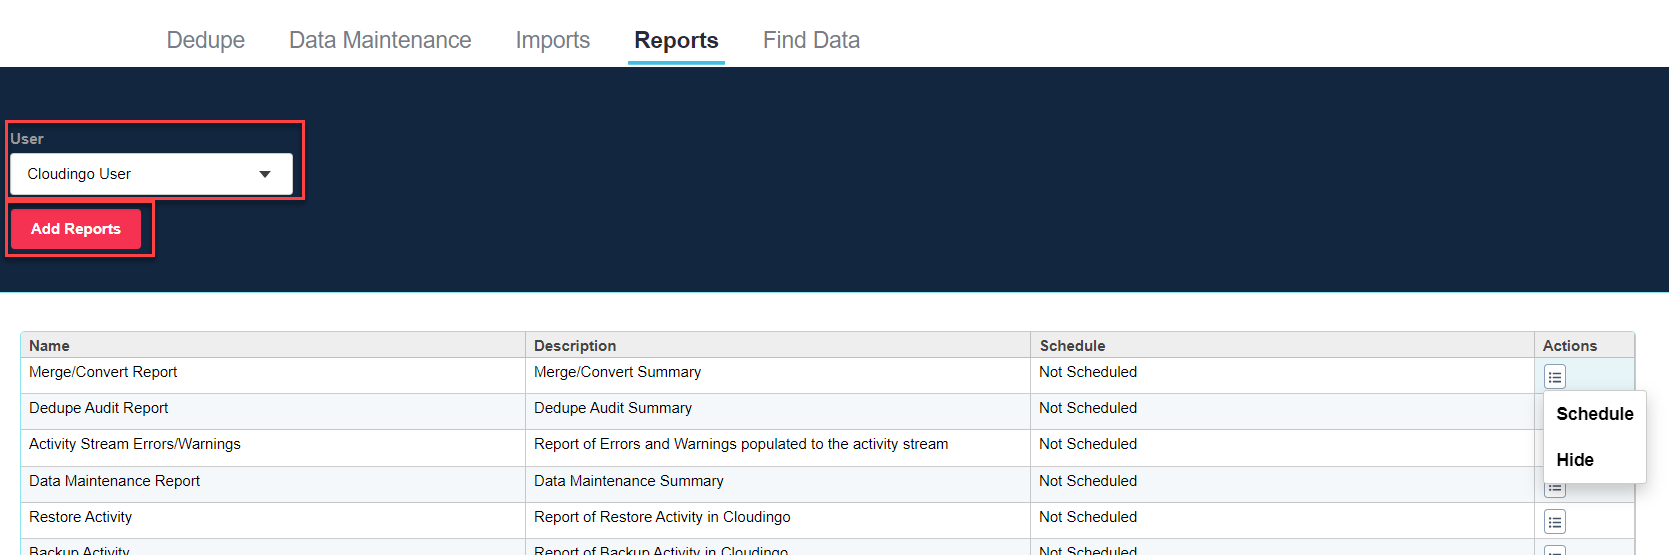
- Choose a specific user to manage in the ‘User’ drop box.
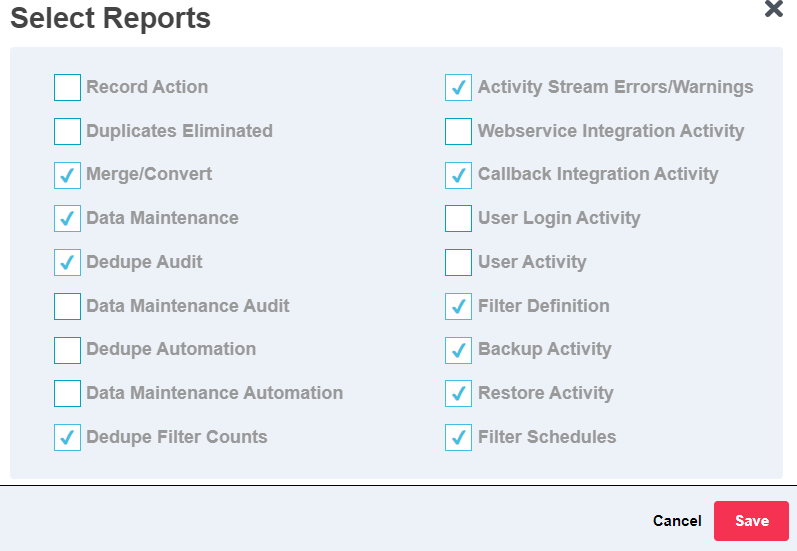
- Choose ‘Add Reports’.
- Choose desired reports from the ‘Select Reports’ list using the checkbox options and ‘Save’.
- Reports will immediately get created on the user’s Reports dashboard for use.
- Deselect reports to remove from the user's dashboard.
Actions

- Choose a specific user to manage in the ‘User’ drop box.
- Action options include:
- Schedule: Schedule the user’s report to get emailed to a specified list of emails.
- Hide: Hide a report from the user’s dashboard.
Find Data
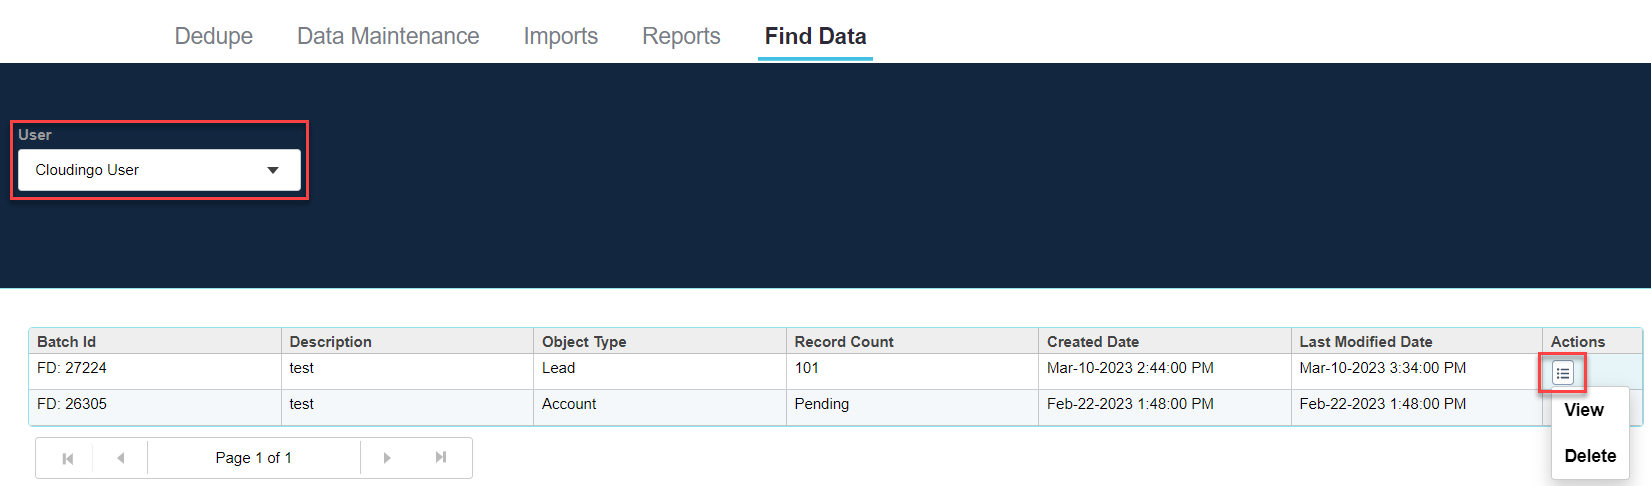
Actions
- Choose a specific user to manage in the ‘User’ drop box.
- Action options include:
- View: Pulls up the user’s Find Data job in the Find Data tool where the file can be viewed or further managed.
- Delete: Delete the user’s Find Data job.