Subscription & Add-Ons
- 22 Mar 2023
- 1 Minute to read
-
PDF
Subscription & Add-Ons
- Updated on 22 Mar 2023
- 1 Minute to read
-
PDF
Article summary
Did you find this summary helpful?
Thank you for your feedback!
Overview
View subscription details and manage add-on features within Cloudingo.
Navigation
Choose ‘Subscription’ → ‘Subscription’ from the top-right navigation options.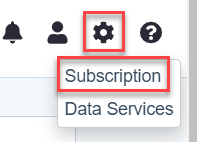
Update or Add a Credit Card
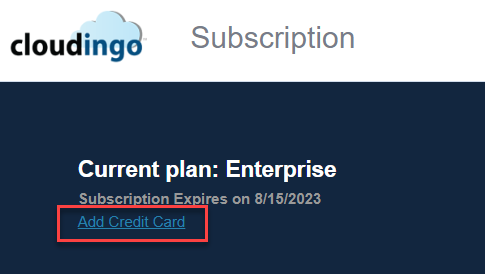
- Choose ‘Add Credit Card’ at the top left side of the page.
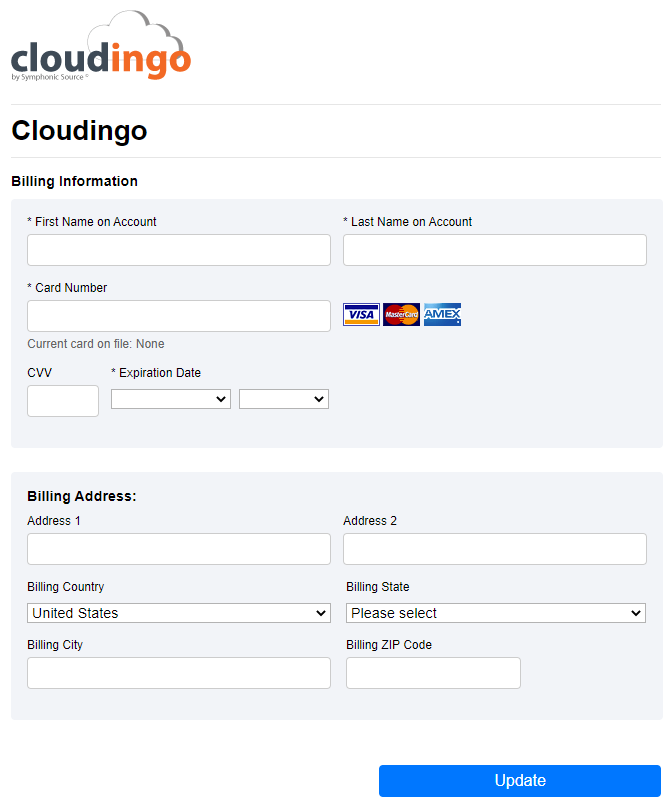
- Type in the First and Last Names exactly as they appear on the credit card.
- Enter the Card Number.
- Enter the CVV (the 3 or 4-digit number provided, usually on the back of the card).
- Enter the card’s Expiration Date.
- Enter the current Billing Address.
- Choose the ‘Update’ option at the bottom of the page.
Note:
If your account has expired, reach out to your Account Representative directly for assistance (or email contact@cloudingo.com).
Master Subscription Agreement
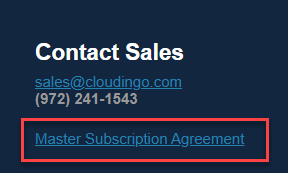
- View the Master Subscription Agreement by clicking the link at the top-right of the page.
- Master Subscription Agreement details can also be viewed under the Help icon.
Subscription Details
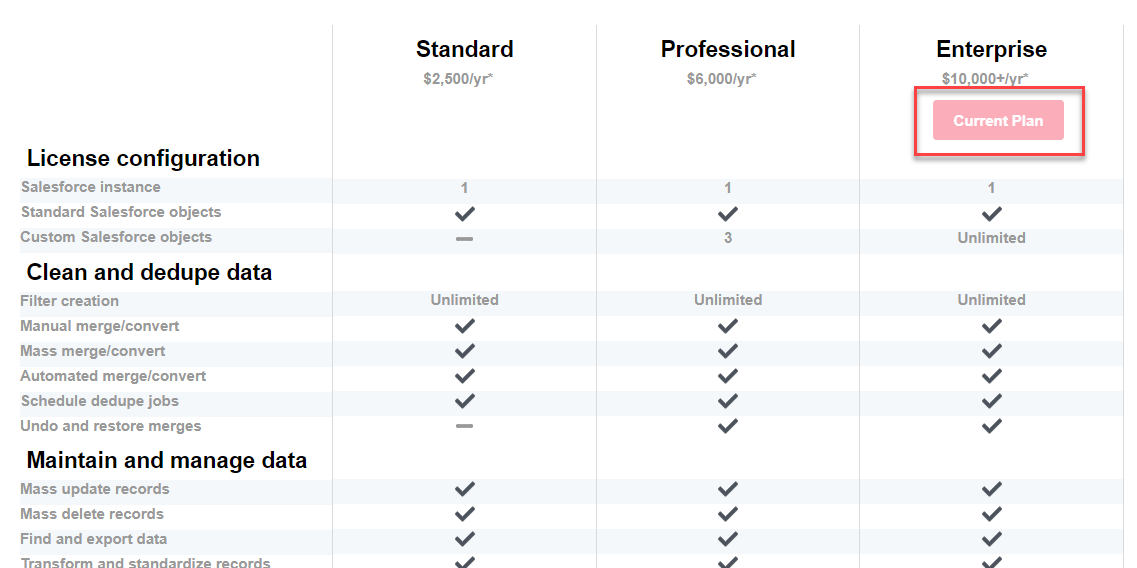
- A list of all subscription options and features available is displayed at the top of the main page.
- ‘Current Plan’ will display beneath the subscription that the license is actively using.
Additional Add-Ons

- Some add-ons can be purchased directly from this section. Choose ‘Purchase’ to add on a new feature.
- Some add-ons must be purchased by speaking to an Account Representative. Choose ‘Contact us’ to submit a request.
Payment History
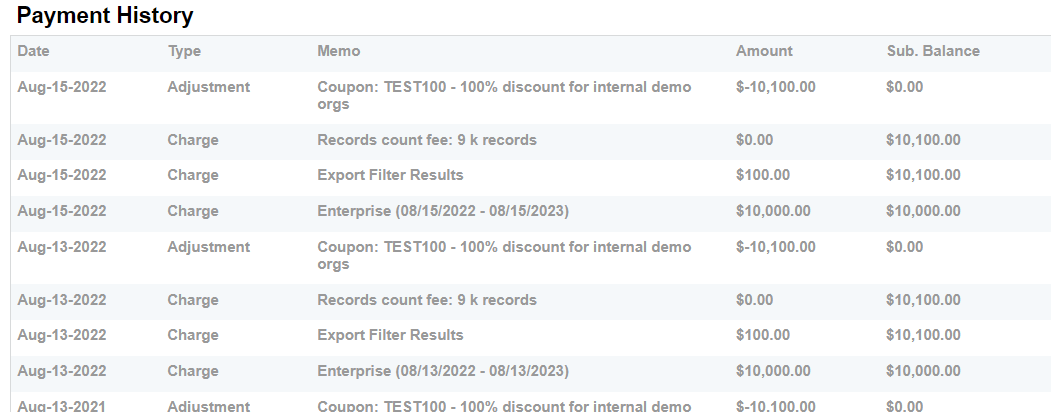
- Payment history for all purchases will be displayed.
- This includes add-on features, data services (for Address Validation) purchases, and renewals with any additional record count fees or discounts applied.
- Subscription renewal receipts are emailed to the billing contact on file at the time of renewal.
.png)

