Overview
The Automation Preview Report is a tool designed for users to ensure that master selectors and automation rules are correct before any merge, convert, or action takes place. This report allows users to preview the final record and eliminates the need to manually review duplicate groups using the merge grid. In some cases, organizations may need verification or approval from record owners before merging records. The Automation Preview Report can produce a downloadable .csv file that can be emailed to decision influencers and uploaded to third-party systems to mark records that will be merged or converted without using Cloudingo's API integration.
Report Output
- Up to 20 user-defined fields (per object).
- The Salesforce IDs of the master and child records.
- Field values of the master and child records.
See the Field Configuration section below to view different output options available.
Enabling Automation Preview
Navigation
Standard license users must contact the sales team (contact@cloudingo.com) to enable this as an add-on feature.
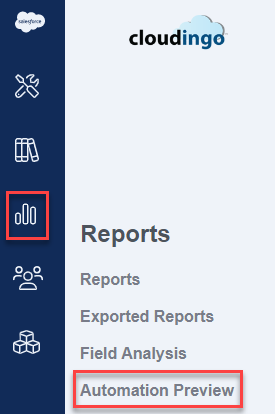
- Choose the ‘Reports’ → ‘Automation Preview’ option from the left-hand-side navigation window.
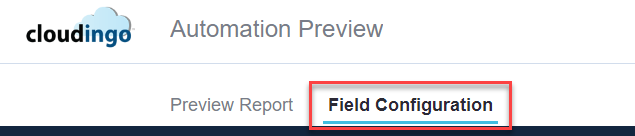
- Toggle to the ‘Field Configuration’ tab at the top of the page.
Field Configuration
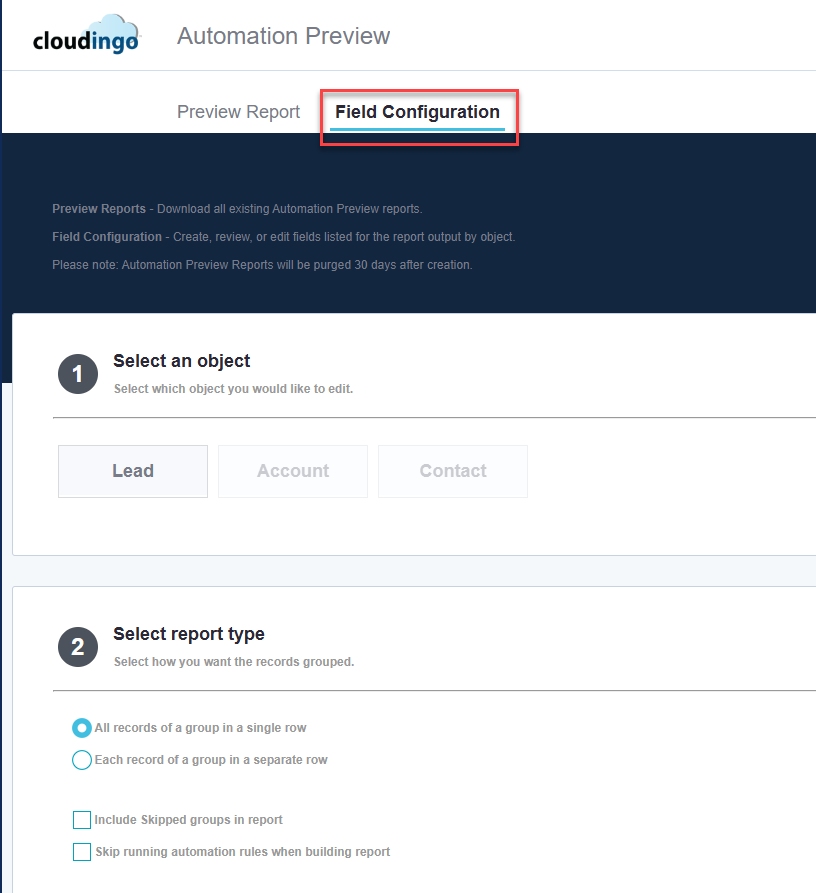
- Select an object:
- Choose an object to set up fields for output.
- Options include Lead, Account, Person Account, and Contact.
- Select report type:
- Choose how the records should be grouped.
- All records of a group in a single row:

- Each record of a group in a separate row:

- All records of a group in a single row:
- Include Skipped Groups in Report: Choose whether to include skipped/excluded records in the report's output.
- Disabled (default): Skipped merges are not included in the report, matching how a merge/convert job would process the records.
- Enabled: Skipped merges are included in the report with the record ID and the reason they were skipped (based on the applicable exception rule). This makes it easy to identify and filter skipped records when reviewing the report in Excel.
Skip Running Automation Rules When Building Report: Choose to generate a report containing field data only, without executing automation rules or performing master/child record selection.
- Choose how the records should be grouped.
- Configure fields:
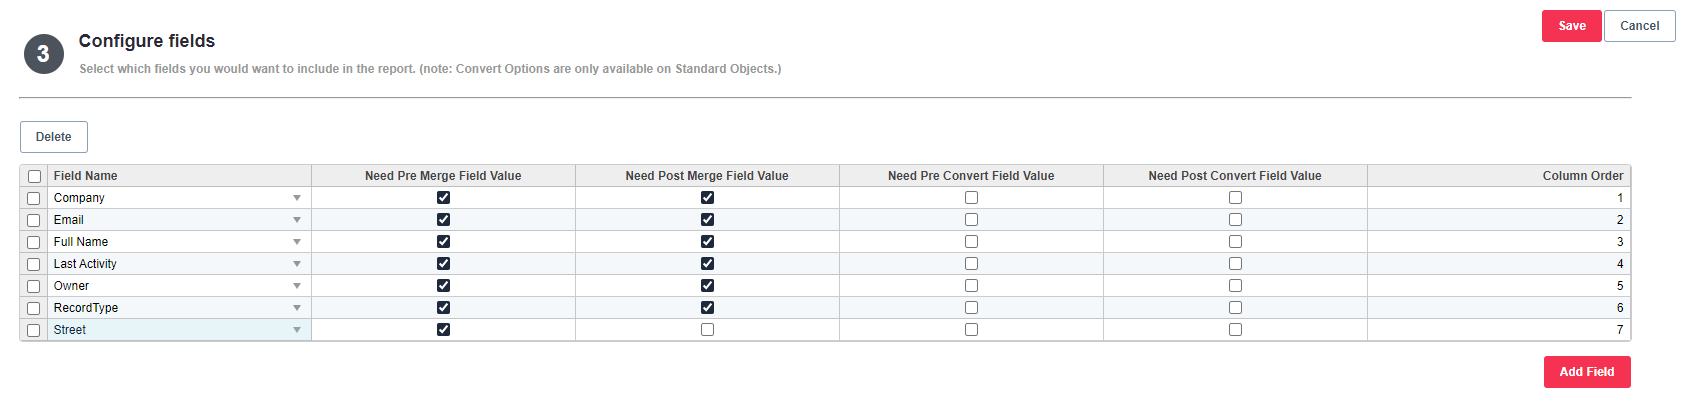
- Choose the ‘Add Field’ option to begin adding fields to include in the report.
- Field Name: Choose any standard or custom field in the field drop box.
- Need Pre Merge Field Value: Enable to see the current record field value in the output.
- Need Post Merge Field Value: Enable to see the post-merge record field value in the output.
- This will display values after rules have been applied to determine which value is kept.
- Need Pre Convert Field Value: Enable to see the current record field value in the output.
- This applies to convert filter types.
- Need Post Convert Field Value: Enable to see the post-convert record field value in the output.
- This applies to convert filter types.
- This will display values after rules have been applied to determine which value is kept.
- Column Order: Set the order in which the field should be displayed in the output columns.
- Choose ‘Add Field’ to add additional fields to the report.
- Up to 20 fields can be added.
- Save.
Create Reports
Choose any dedupe filter’s menu option and choose ‘Automation Preview’.
Note: The option will only appear once the report settings have been configured (see above).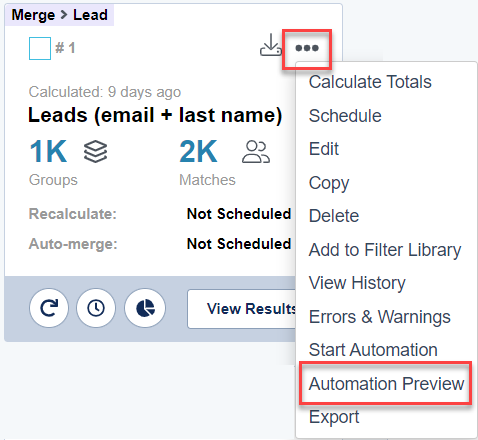
Access Reports
- Choose the ‘Reports’ → ‘Automation Preview’ option from the left-hand-side navigation window.
- All exported reports will display under the ‘Preview Report’ tab (defaulted).
- The status and progress columns will indicate if a report is still processing.
- The status will show ‘Done’ when the report is ready.
- Choose the ‘Download’ option to download the report to a CSV file.
- The exported CSV will display at the bottom left of the browser.

- Choose the arrow to see options to Open or Show in Folder (which opens the download folder where the report can be copied and moved to the desired save location).
- Exported reports can also be accessed in the ‘Exported Reports’ section.
- The exported CSV will display at the bottom left of the browser.
- Choose ‘Start Automation’ to start the automation job and begin merging/converting.
- Choose ‘Delete’ to delete a report.