Overview
Roles and permissions can be managed to limit user access to certain features within the application. Cloudingo comes with four preconfigured roles: Super User, Standard User, Limited User, and Import Only. Existing roles can be edited and new roles can be created.
Navigation
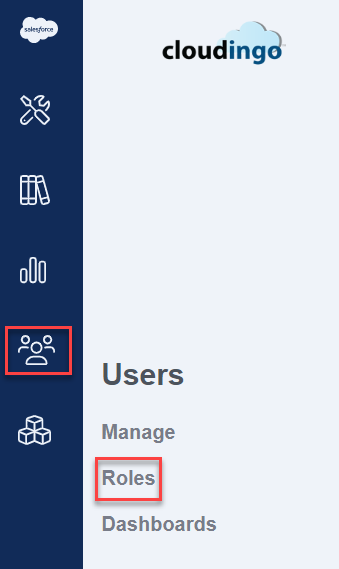
- Choose the ‘Users’ → ‘Roles’ option from the left-hand-side navigation window to configure roles to be assigned to users.
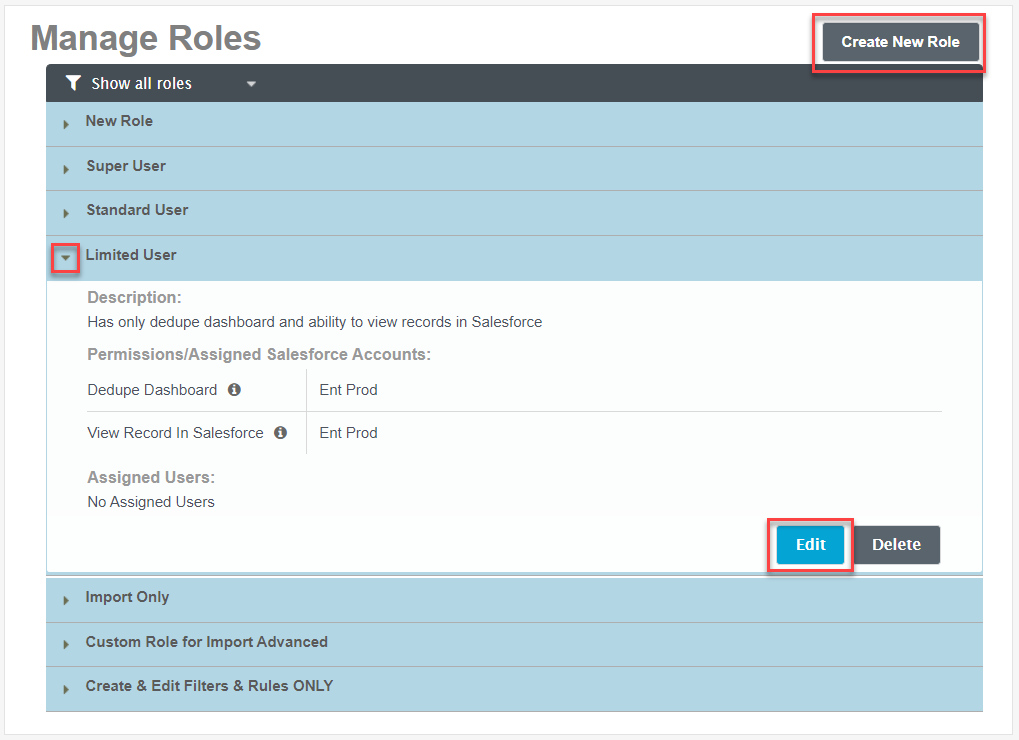
- Choose ‘Create New Role’ to create a new role and define the permissions desired.
- Or expand a pre-configured role by clicking the arrow next to the role name. Choose ‘Edit’ to edit the existing role and modify the permissions assigned.
Pre-Configured Role Options
Cloudingo has four preconfigured roles. Permissions within the pre-set roles can be edited as necessary. Each permission has an informational message on hover that explains what the permission will allow the user to do.
- Super User: Access to all permissions in Cloudingo except ‘Merge Protected Records’ and newer features added to Cloudingo since the role was created.
- Users configured as ‘Admin’ have permissions to all features, including Cloudingo account controls.
- Standard User: Access to all permissions in Cloudingo except ‘Delete Filters’; ‘Merge Protected Records’; ‘Integrations Dashboard’, ‘Callback Api’, & ‘Webservice Api’ (if applicable); ‘Automation Run Window Throttle’; ‘User Login Report’; ‘User Activity Report’; ‘Import Template Library’; ‘Find Data Dashboard’; ‘Delete Imports’; and newer features added to Cloudingo since the role was created.
- Limited User: Access to only the ‘Dedupe Dashboard’ and ‘View Record in Salesforce’ permissions.
- Import Only User: Access to only the ‘Imports Dashboard’ permission.
Assigning Roles to a User
- Navigate to the User and choose ‘Edit’ from the menu option to the right of the user.
- Assign the desired role(s) and ‘Save’.