Overview
Cloudingo provides an update filter to update Contact values in bulk with matching Account data (or the Contact's associated Account data).
For instance, you can find all Contact records where the Contact's street address matches an Account's Street and City, and choose to update on the Contacts from their associated or matching Account, such as updating the Contact Account Name and owners to match the associated Account owner.
Navigation
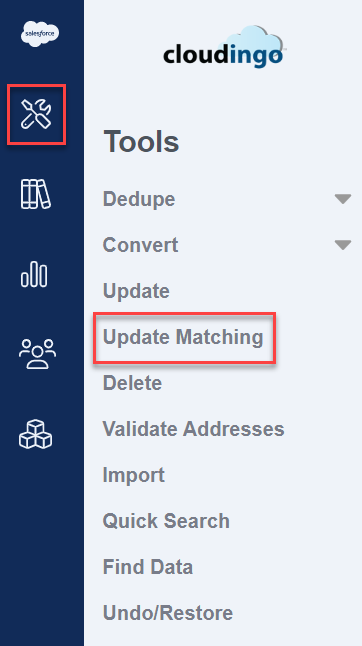
- Open the Update Unique Records window. Choose the ‘Tools’ → ‘Update Matching’ option from the left-hand-side navigation window.
2. Tabs at the top of the page separate the indexed objects. Choose 'All' to view all indexed and non-indexed object filters.
- Choose ‘Create New Job’ to build a new filter.
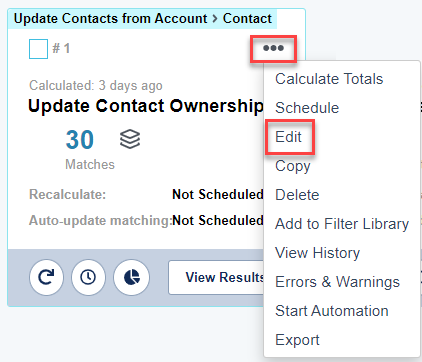
- Choose ‘Edit’ from a specific filter’s menu option to edit an existing filter.
Actions & View Options
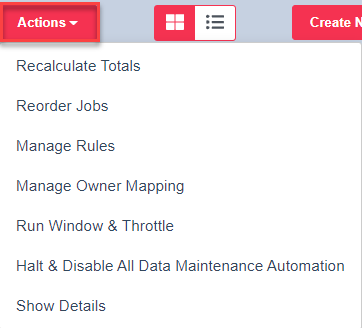
- The 'Actions' menu provides a variety of options.
- Recalculate Totals: Recalculates (queries) all filters at one time.
- Reorder Jobs: Choose this option to reorder the filters for display.
- Manage Rules: Choose this option to get directly into the Manage Rules page.
- Manage Owner Mapping: Choose this option to get directly into the Owner Mapping page.
- Run Window & Throttle: Choose this option to get directly into the Run Window & Throttle page.
- Halt & Disable All Data Maintenance Automation: Choose this option to temporarily stop all currently running or future automation jobs.
- Jobs currently running can take time to completely stop.
- Show Details: Choose this option to show additional filter details (such as the filter description, fields used, and the rule applied if applicable.
- Choose 'Hide Details' from the 'Actions' menu to return back to the regular filter view.
- Choose 'Hide Details' from the 'Actions' menu to return back to the regular filter view.
- Toggle between Tile View or List View to control how filters are displayed.

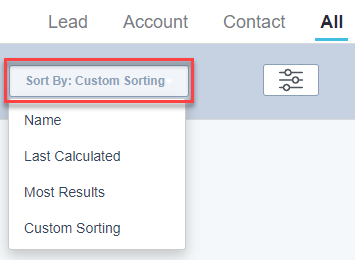
- Sort By: Choose from a variety of sort options to display filters.
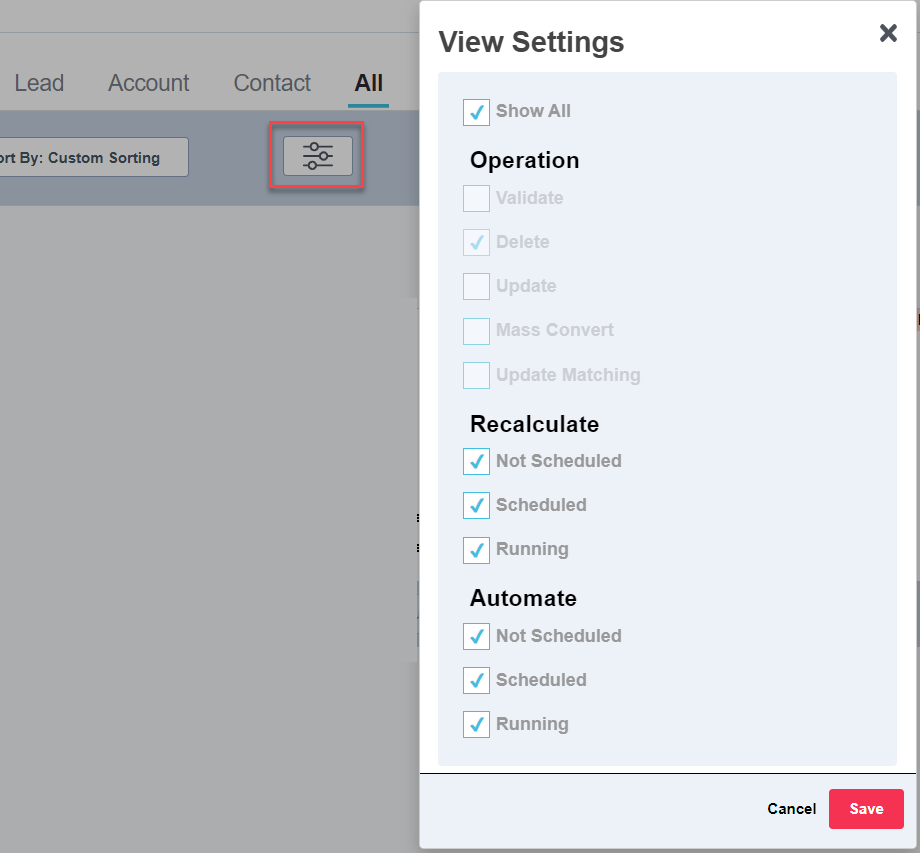
- View Settings: Choose from a variety of view settings to display filters.
Step 1: The basics
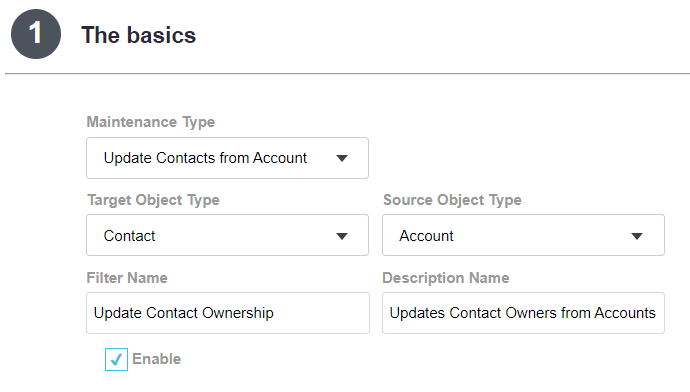
- Maintenance Type: Choose ‘Update Contacts from Account’.
- Object Type: The ‘Contact’ object will automatically be selected for the ‘Target Object Type’ and ‘Account’ for the ‘Source Object Type’.
- Filter Name: Give the filter a descriptive name.
- Description Name (optional): Give a brief description of the filter.
- Enable: All filters are enabled by default. Disabling makes the filter inactive.
Step 2: Which fields do you want to match on?
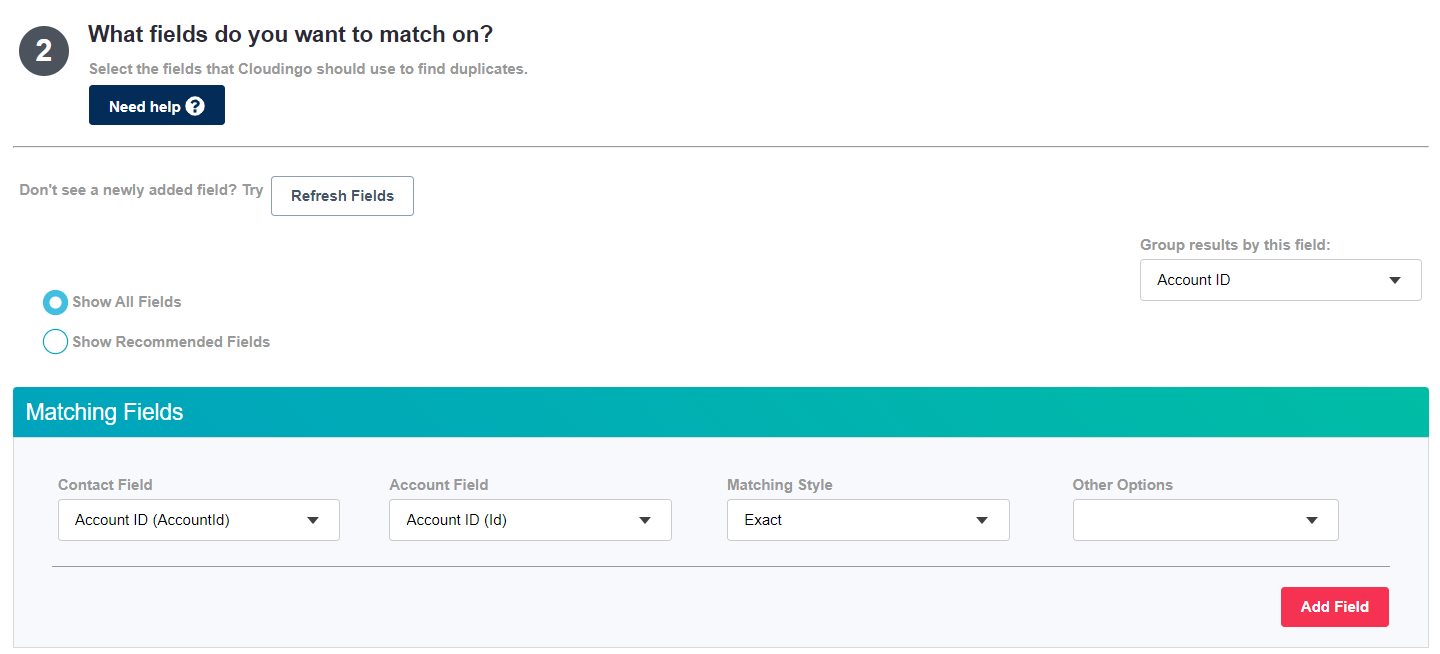
- Contact Field: Choose a Contact field in the Contact Field drop box to begin setting up the matching criteria.
- Account Field: Choose a corresponding Account field in the Account Field drop box.
- The contact & account fields chosen will be used to identify the Contact’s matched Accounts.
- Use Account Name for example to identify matched Accounts with the same name (add additional fields like city and state to further narrow down matches.
- When using field values instead of Account ID, data can pull from Accounts that match, but are not necessarily currently associated with the Contact record.
- To only update Contact data with data from an Account that the Contact is already associated with, choose ‘Account ID’ for both fields.
- The contact & account fields chosen will be used to identify the Contact’s matched Accounts.
- Matching Style: Choose a matching style (Exact, Company Name Cleaned, Alpha Numeric Only, Fuzzy, etc.)
- Other Options: Choose options settings (ignore case, enable synonym matching, remove all spaces, etc.)
- Choose the ‘Add Field’ option to add additional matching criteria to find records.
Step 3: Limit your records (optional)
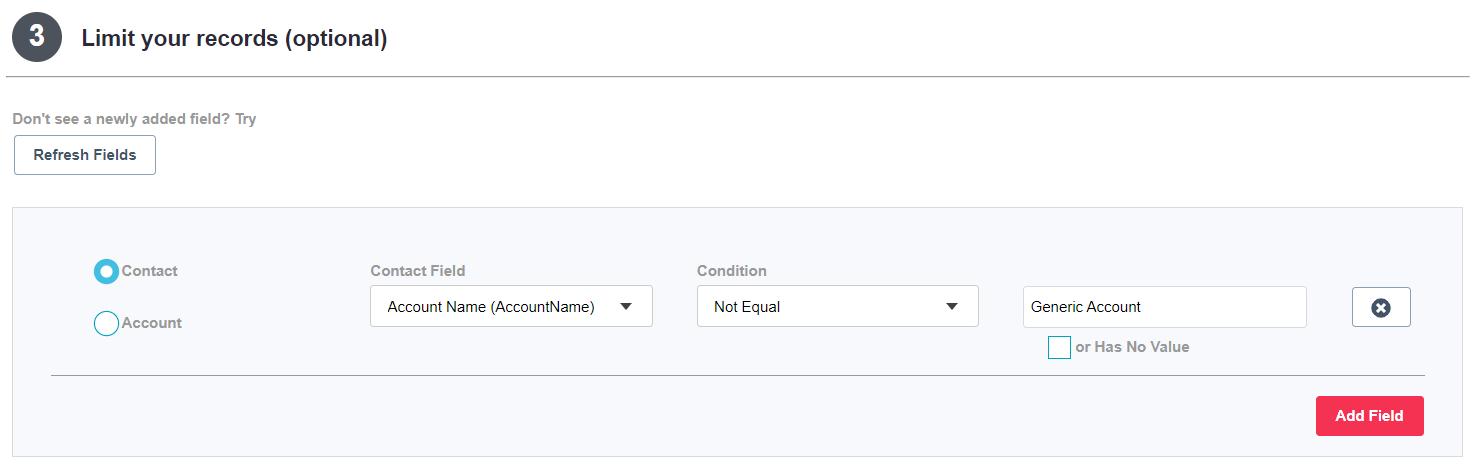
- Choose ‘Add Field’ to add limits to narrow down results to a specific subset of records.
- Choose ‘Contact’ or ‘Account’ to toggle the displayed field list.
- (Object) Field: Choose a field in the field drop box to begin setting up limits.
- Condition: Choose a condition (equals, contains, has a value, etc.)
- Value: Set a value for the condition if required. Some conditions do not require a value to be set.
- Or Has No Value: Choose this option to allow blank values for the field to pull in.
- Choose the ‘Add Field’ option to add additional limits.
- When using a Salesforce ID, set the condition to ‘Starts With’ to read the first 15 digits instead of 18 digit ID (which is what Salesforce exposes).
- When using ‘Equal’ or ‘Not Equal’, ‘Contains or ‘Does not Contain’, ‘Starts With’ or ‘Ends With’, multiple values can be set which will use ‘or’ logic.
- Separate values by commas and no spaces.
- When using multi-picklist field options, consider using ‘Excludes Value(s)’ or ‘Includes Value(s)’. ‘Exact’ requires that all values must be present on the records for the match to be identified. The Exclude/Include settings use ‘or’ logic to identify matches where any record has a value set to one of the specified picklist values.
Step 4: What fields do you want to update?
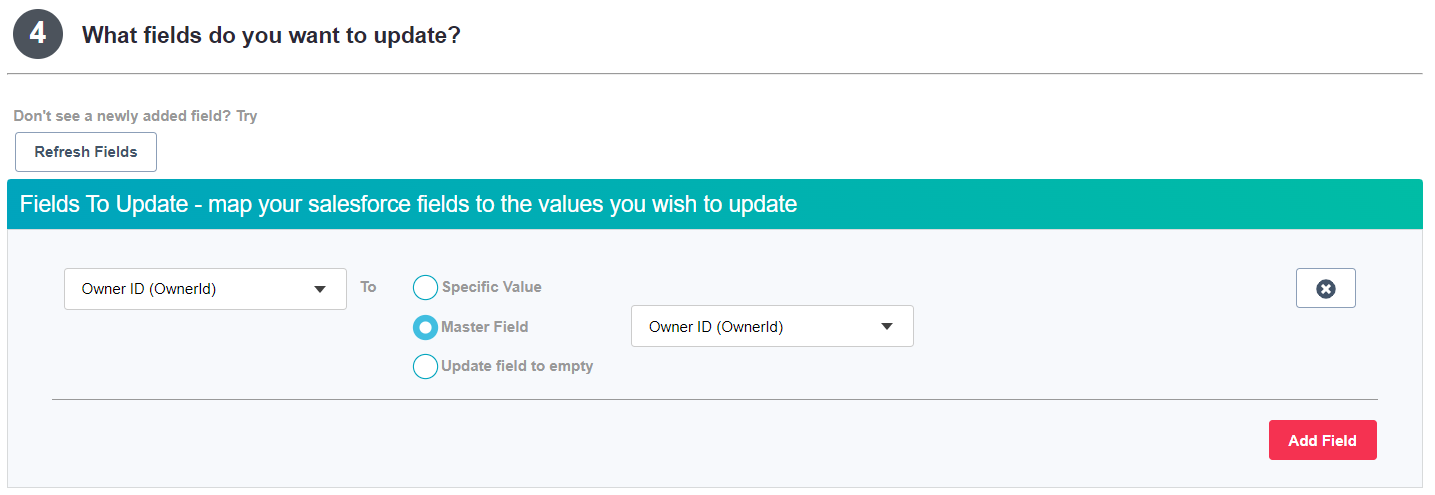
- Choose a field to update in the first drop box.
- Use the ‘Refresh Fields’ option if a field is not showing up in the list. Check field permissions and visibility on the Salesforce side. Fields that are not editable in Salesforce cannot be chosen.
- Choose how to update the records. Options include:
- Specific Value: Updates the Contact value(s) for the record(s) with the specified value.
- Populate the blank box on the right-hand side with a specific value to get applied.
- Master Field: Updates the value(s) for the Contact field(s) from the master (Account) record’s value.
- Update field to empty: Sets the value for the Contact records to blank.
- Specific Value: Updates the Contact value(s) for the record(s) with the specified value.
Step 5: Limit your groups (Optional)
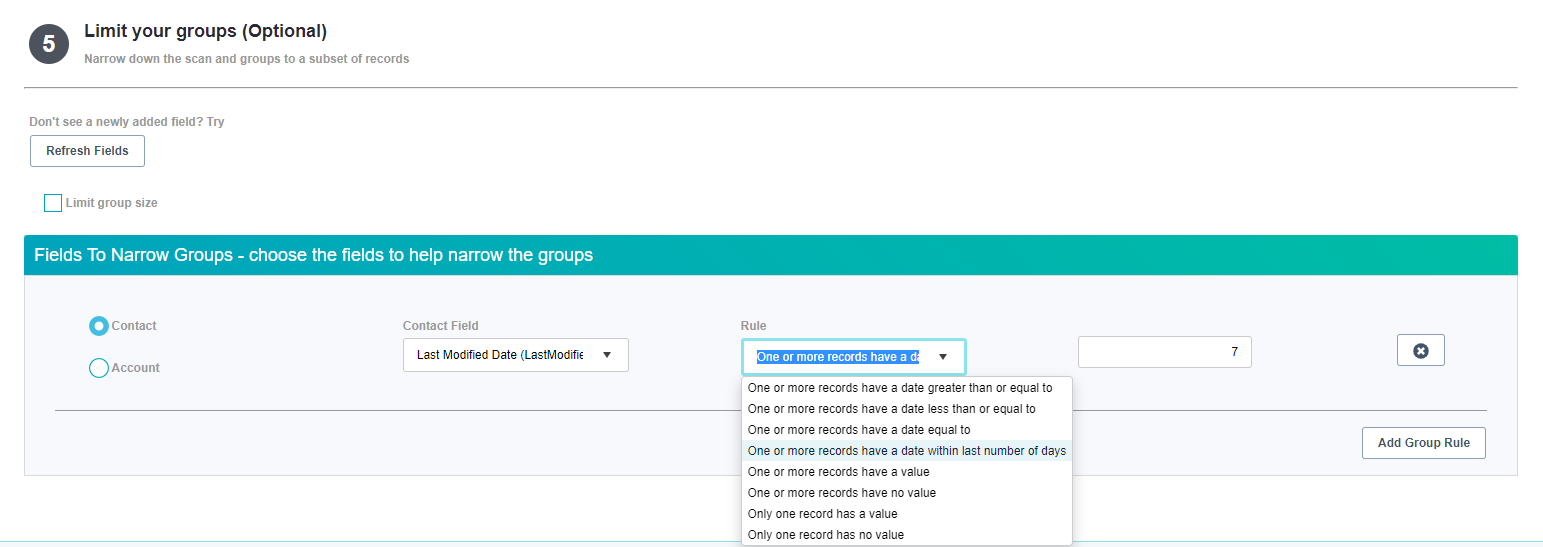
- Choose ‘Add Group Rule’ to add limits to further narrow down results to a specific subset of records.
- (Object) Field: Choose a field in the field drop box to begin setting up limits.
- Choose ‘Contact’ or ‘Account’ to toggle the displayed field list.
- Rule: Choose a condition (one or more records has an exact value, one or more have no value, etc.)
- Value: Set a value for the condition if required. Some conditions do not require a value to be set.
- Choose the ‘Add Group Rule’ option to add additional limits.
Re-indexing
When creating or editing a filter with new fields (on indexed objects), Cloudingo initiates a re-indexing process on the object that may take time. To avoid this, users can pre-set a list of fields they will be using in their filters by going to 'Account' → 'Settings' → 'Manage Objects' from the top right toolbar.
Preview Results
Make sure to preview the filter results for accuracy before performing updates. Check to ensure that the correct records are pulling in and the correct values will be applied.
- Choose the ‘View Results’ option on the filter after the filter has been calculated.
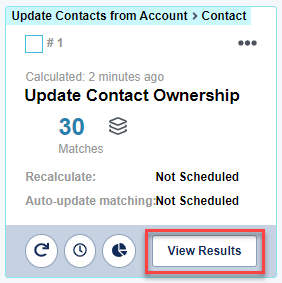
- Choose the red arrow on a group to preview the results. Check a few groups for accuracy.

- The preview will display the current record on the left and the values to be updated on the right.
Update
After checking records for accuracy, run the update. There are three ways to update.
- Manually: Update one record at a time from the preview page.

- Update: Updates the record and returns the view back to the record list.
- Update & Load Next: updates the record and immediately opens the next record.
- Skip & Load Next: loads the next record without updating the current record.
- Mass Update: Update records one page at a time from the preview page.
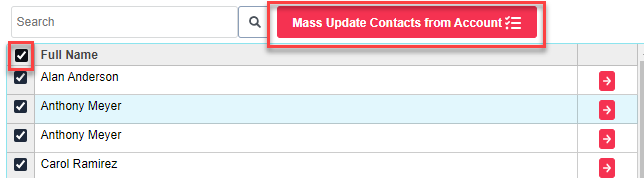
- Select records using the checkbox to the left to be updated.
- Or choose the Select All box at the top left corner.
- Choose the ‘Mass Update Contacts from Account’ option at the top of the record list to submit all selected records in view.
- Page through results using the page numbers at the bottom of the results list.
- Mass Updates can only be done one page at a time.
- Watch the Activity Stream for the update confirmation back from Salesforce to see if updates were successful or a failure (or view the Activity Stream Error/Warnings report from the Reports dashboard to get a list of failures).
- Results within the pages will refresh in the list as records are updated and when moving through the pages.
- Select records using the checkbox to the left to be updated.
- Automation: Update all records in the filter by starting a one-time automation job or schedule to run the job repeatedly.
- For a one-time job:
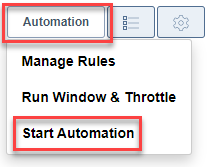
- From the filter’s menu option, choose ‘Start Automation’ or choose the ‘Automation’ menu option from within the preview page and choose ‘Start Automation’ or choose 'Automation' → 'Start Automation' from the preview page.
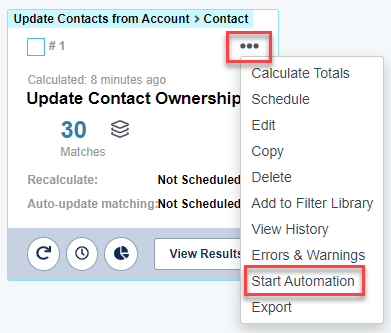
- Choose ‘Automate’ on the confirmation page.
- Check the Run Window & Throttle settings if the job does not start within a reasonable time.
- Check the Run Window & Throttle settings if the job does not start within a reasonable time.
- From the filter’s menu option, choose ‘Start Automation’ or choose the ‘Automation’ menu option from within the preview page and choose ‘Start Automation’ or choose 'Automation' → 'Start Automation' from the preview page.
- To schedule the job to run repeatedly:
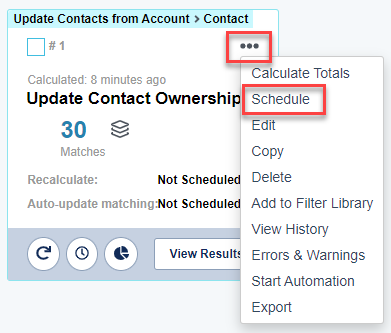
- From the filter’s menu option, choose ‘Schedule’.
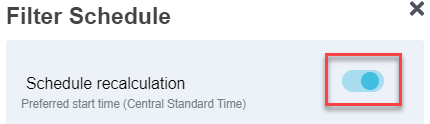
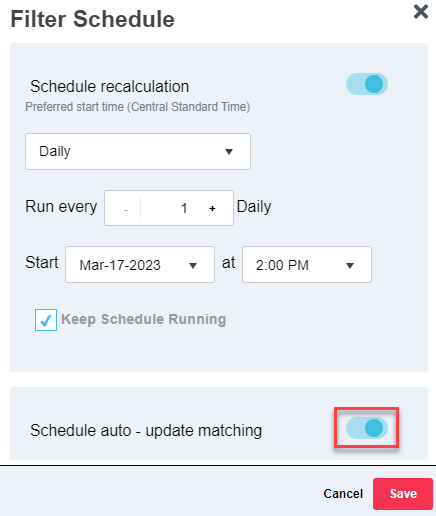
- Toggle the dot to the right to enable the ‘Schedule recalculation’.
- Specify a frequency (one time, hourly, daily, or weekly. Set any additional settings related to the frequency as required.
- Specify a start date and start time.
- The ‘Keep Schedule Running’ option must be enabled for the job to continue processing at the scheduled time.
- Toggle the dot to the right to enable ‘Schedule auto – update matching’ to process the job and 'Save'. If disabled, the job will only perform the calculation (query) at the scheduled time.
- From the filter’s menu option, choose ‘Schedule’.
- For a one-time job: